Authentication and Authorization are the security level you might need on your application, and implementing it can be challenging if you want to do develop it on your own. Fortunately, there’s no need to reinvent the wheel, you don’t need to spend ages building your own module and dealing with its constant updates. AWS Cognito is the easiest solution to manage user-profiles and keep track of them across multiple logins.
Understanding Cognito
Cognito is the Amazon user identity and data synchronization service. The service can be implemented in a few minutes, and it makes easier for you to manage user identities, authentication, and permissions safely.
AWS Cognito has two services: user and identity pools. User pools are identity providers, they are used for authentication - signup/sign-in, and user data access and management. Identity pools are used to give your users access to AWS resources such as IAM, S3, etc.
In this blog, we will see how we can set AWS Cognito for authentication and authorization. We will walk through the steps for creating both User and Identity pools.
Creating a user pool
- Go to Cognito and click on Manage User Pools.
- Click on Create a user pool.
- Give a name to your user pool and click on Step through settings.
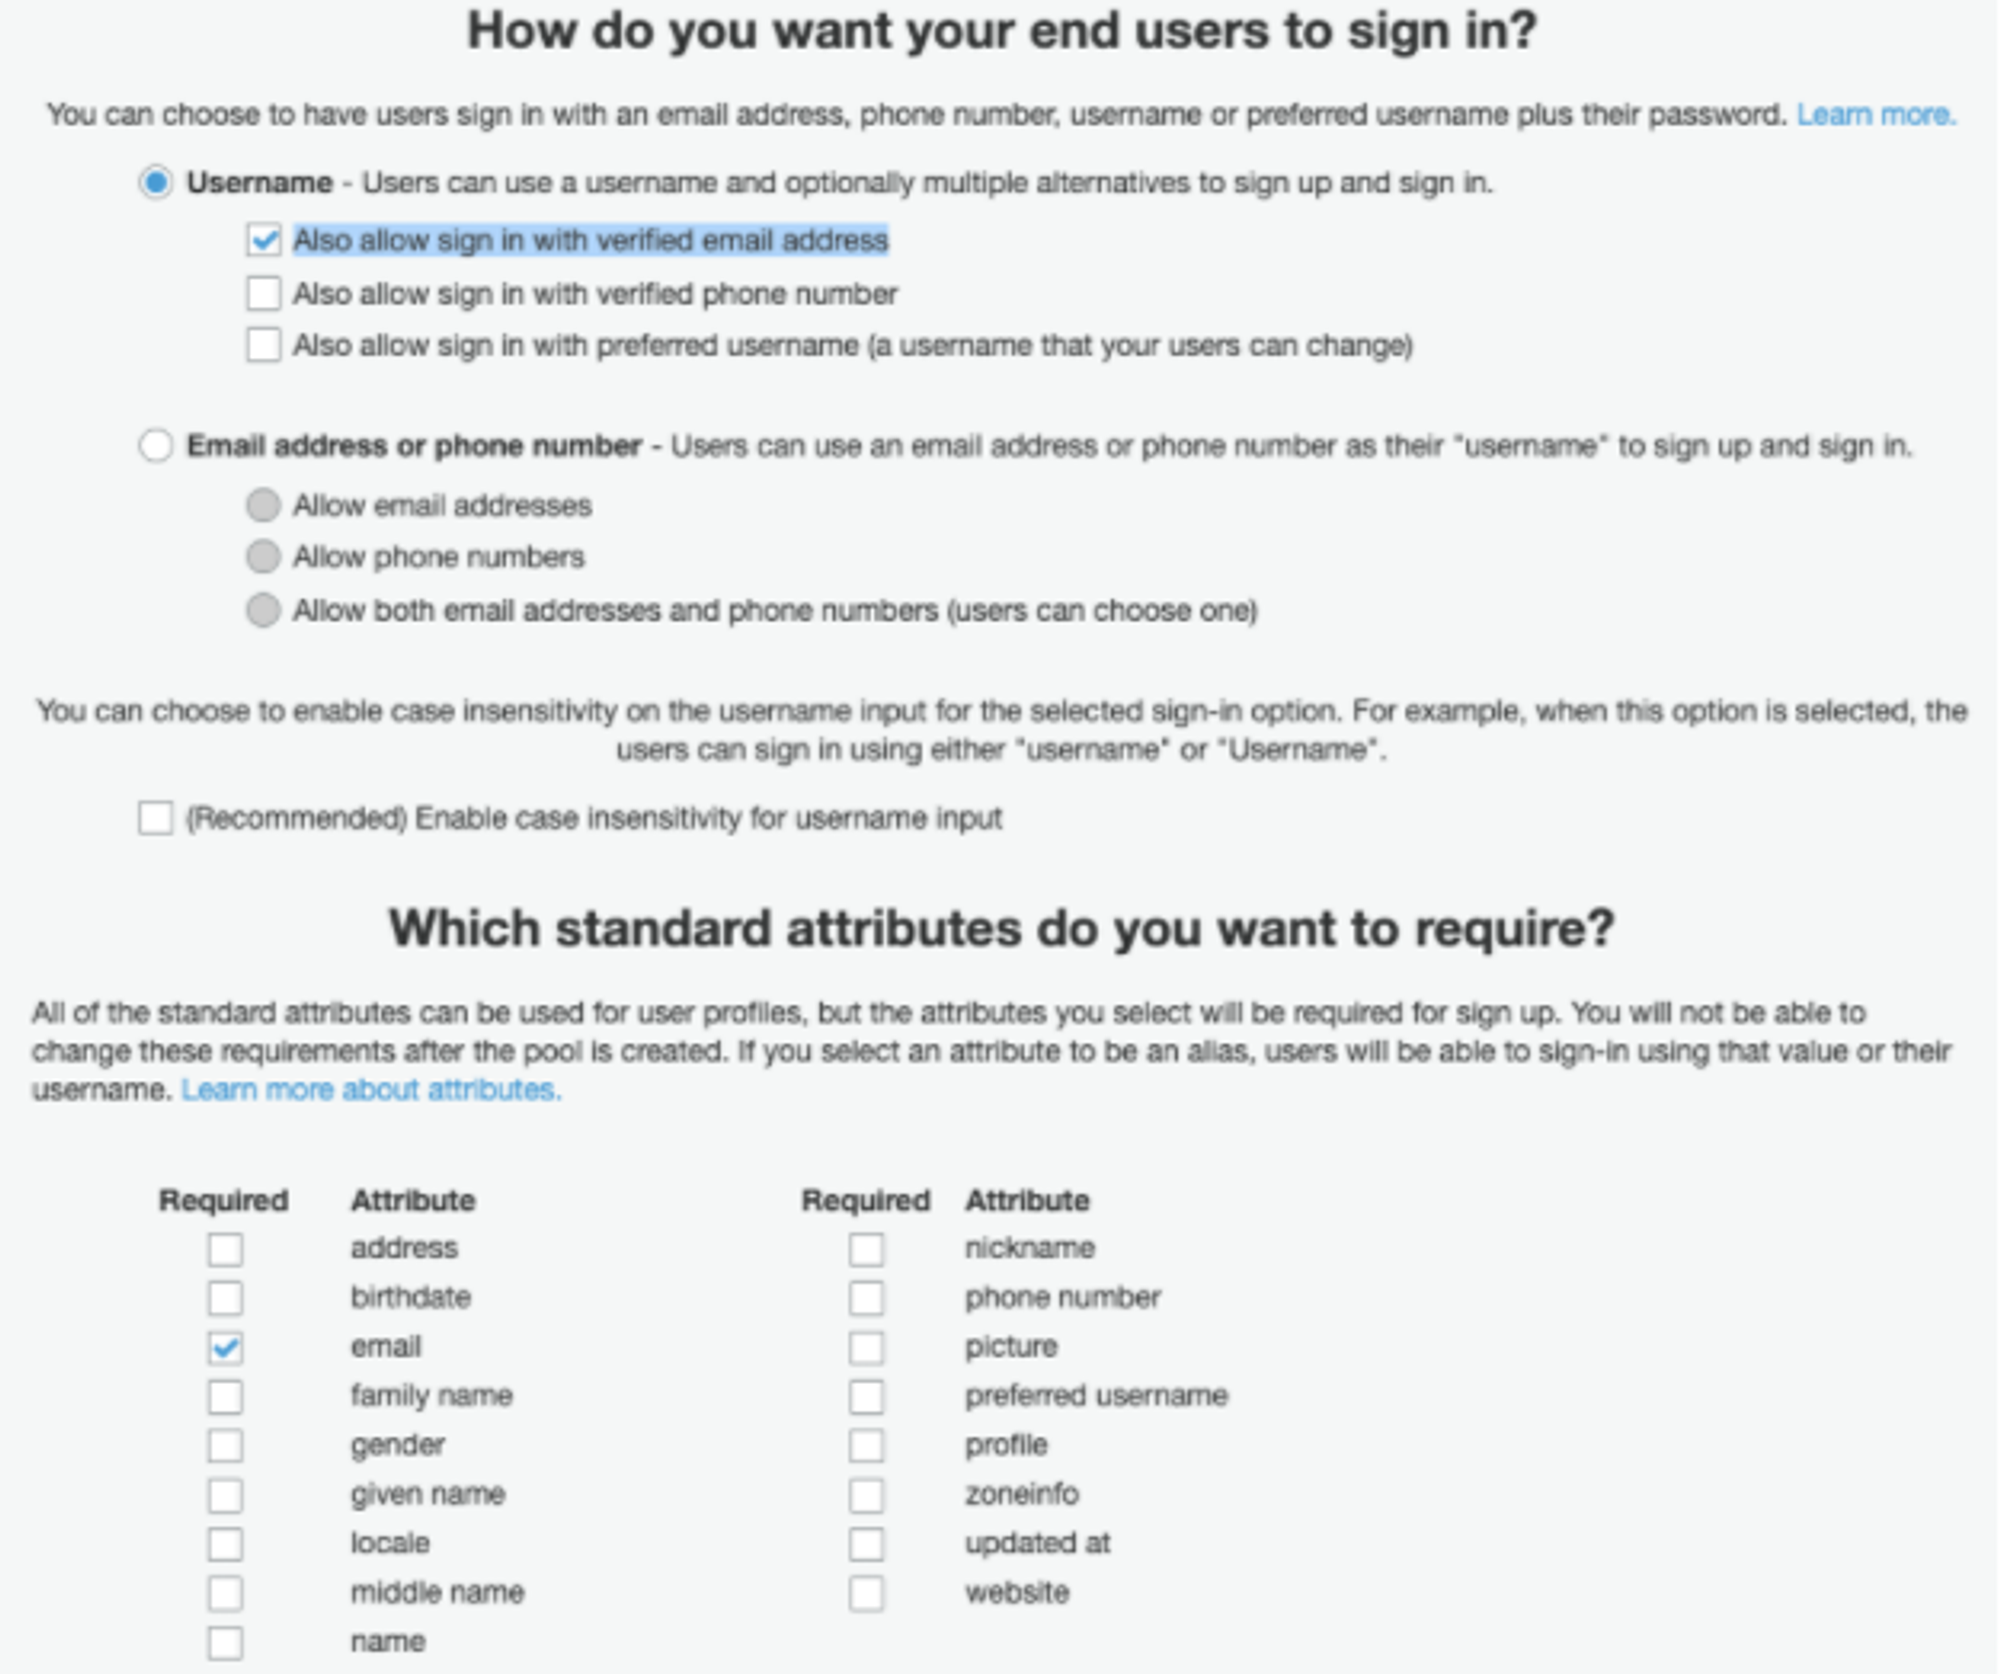
- Here you can configure how do you want your users to sign in. We will be using the username option, so check Also allow sign in with verified email address. On this same page, you can also choose what attributes you want to require. If you don’t find the attribute you want to require in the given list, you can also add a custom attribute. When you are done click on Next step.
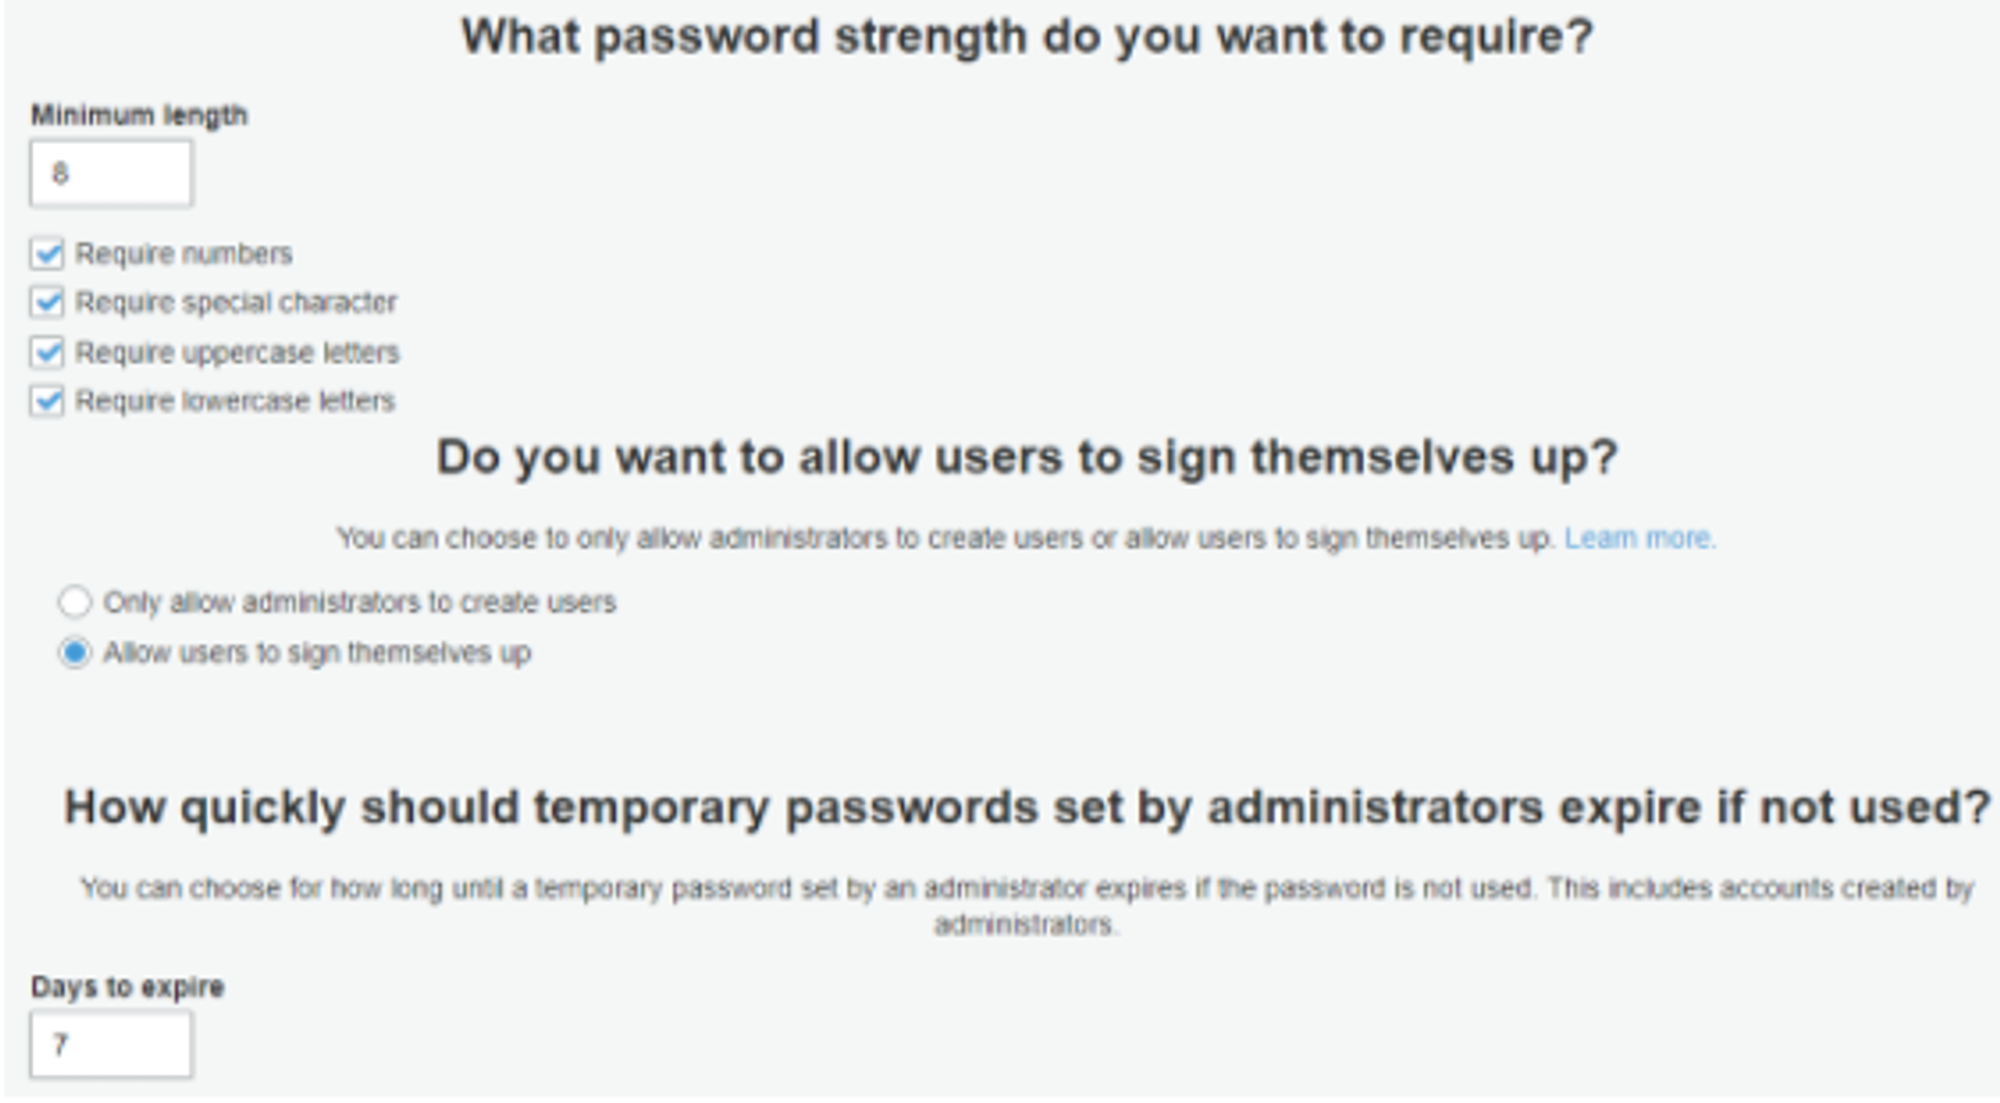
- On the next page, you can configure the password strength (you can leave it to its default settings), and when you are done, click on Next step.
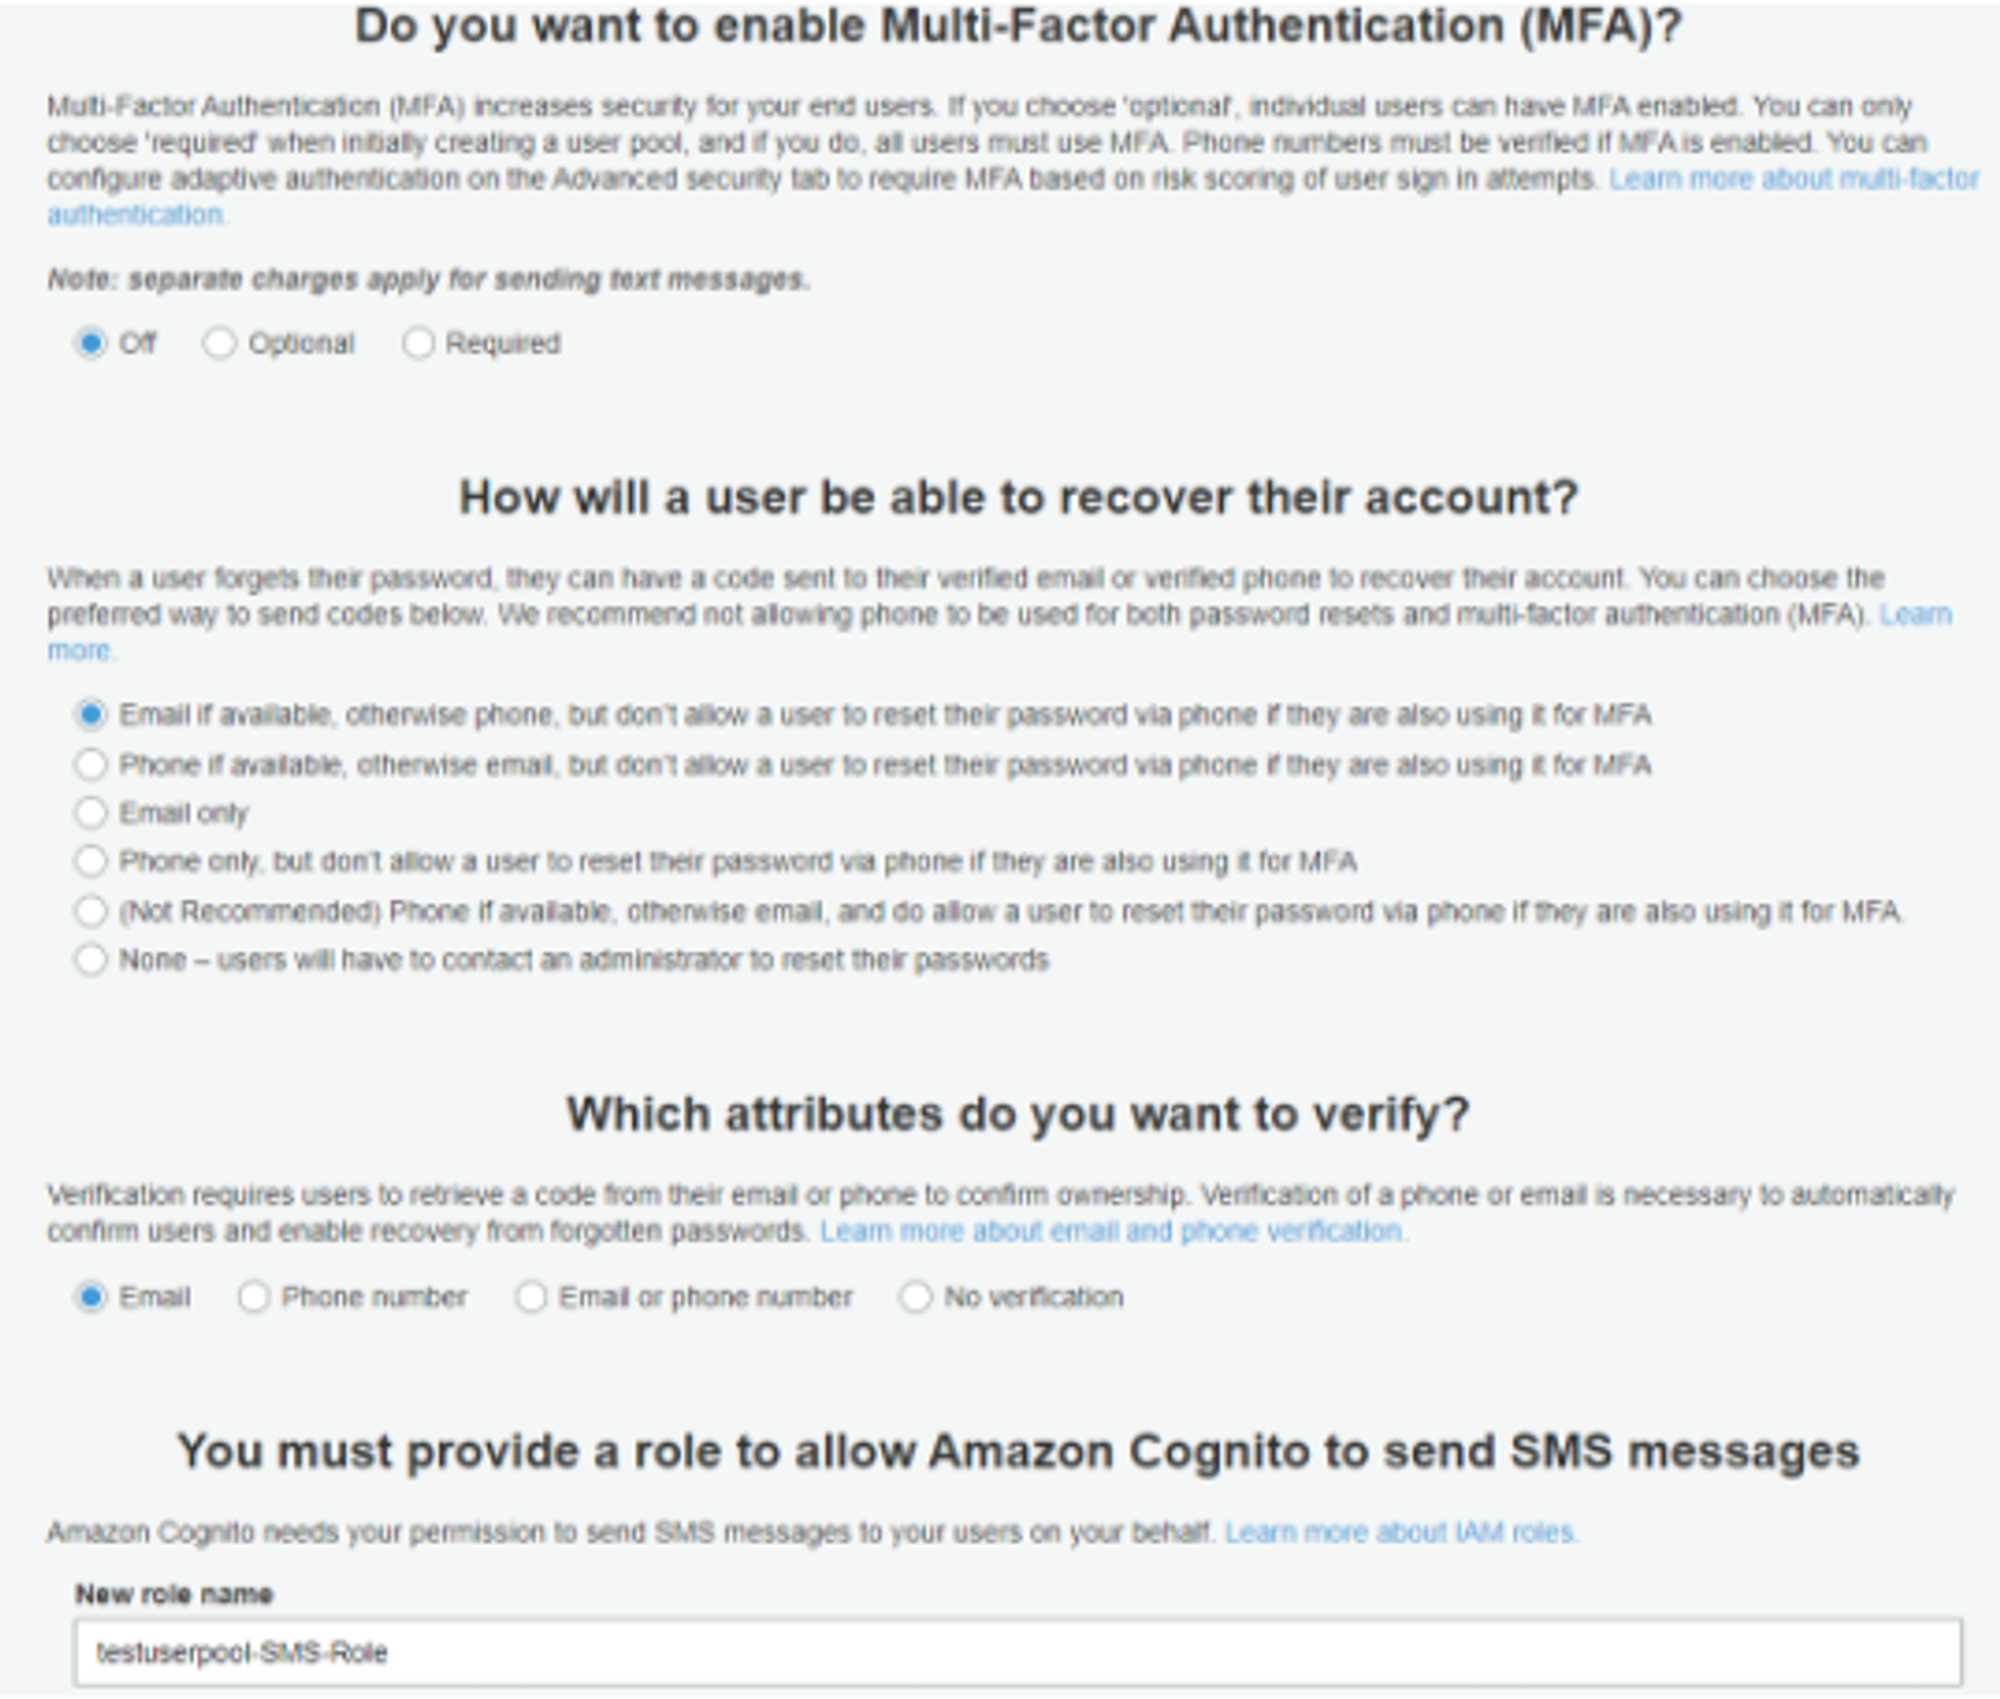
- On the following page, you will be able to activate the Multi-factor Authentication (MFA). The MFA is a security system that requires multiple credentials to verify the user’s identity. MFA increases security, but it’s also more complicated to implement. I recommend you only use this option if your application deals with extremely sensitive information. On this same page, you will also set up: how users will recover their account, how will they verify their identities, and whether you want to allow Cognito to send them an SMS or not (you can leave it to its default settings). When you are done, click on Next step.
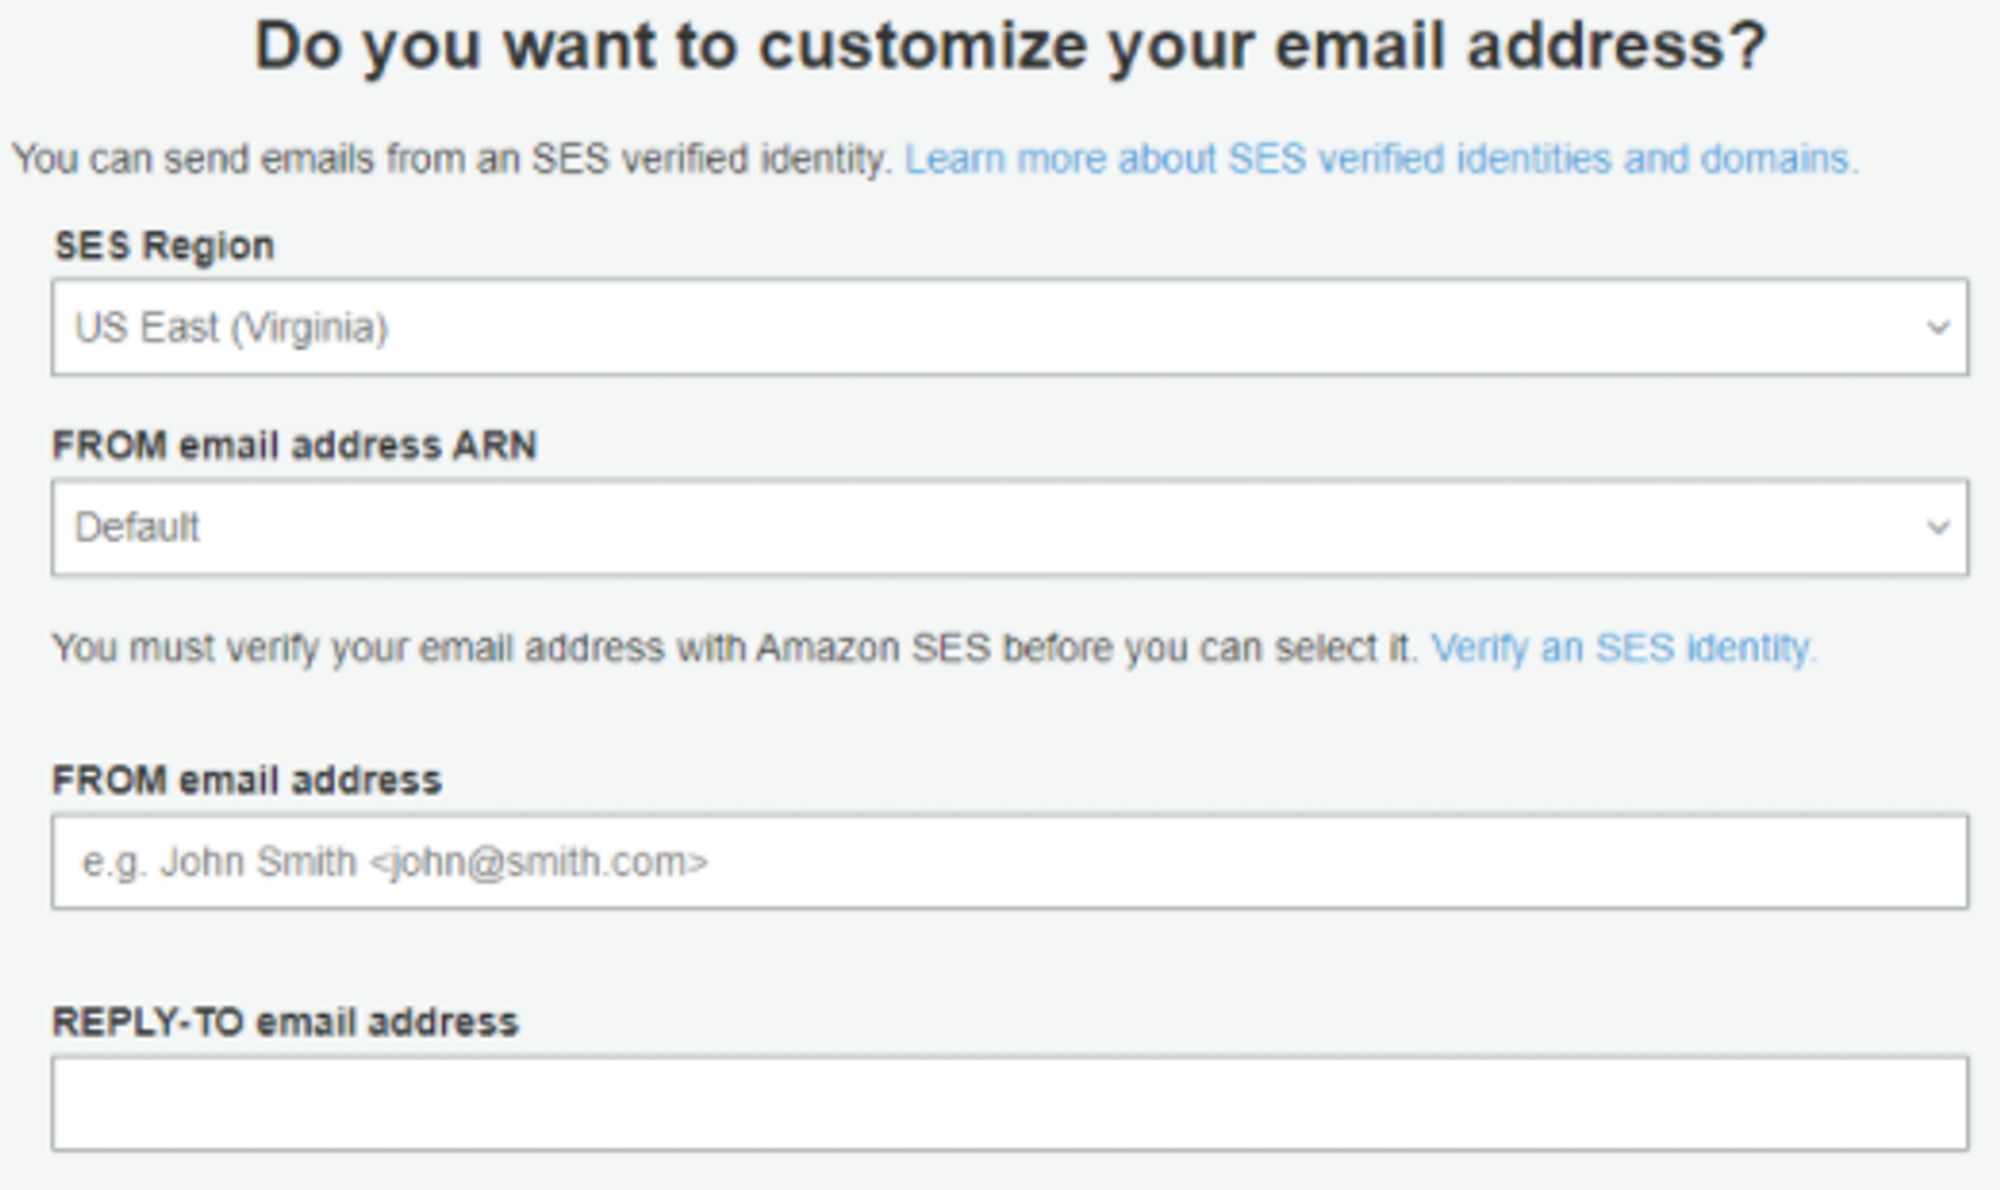
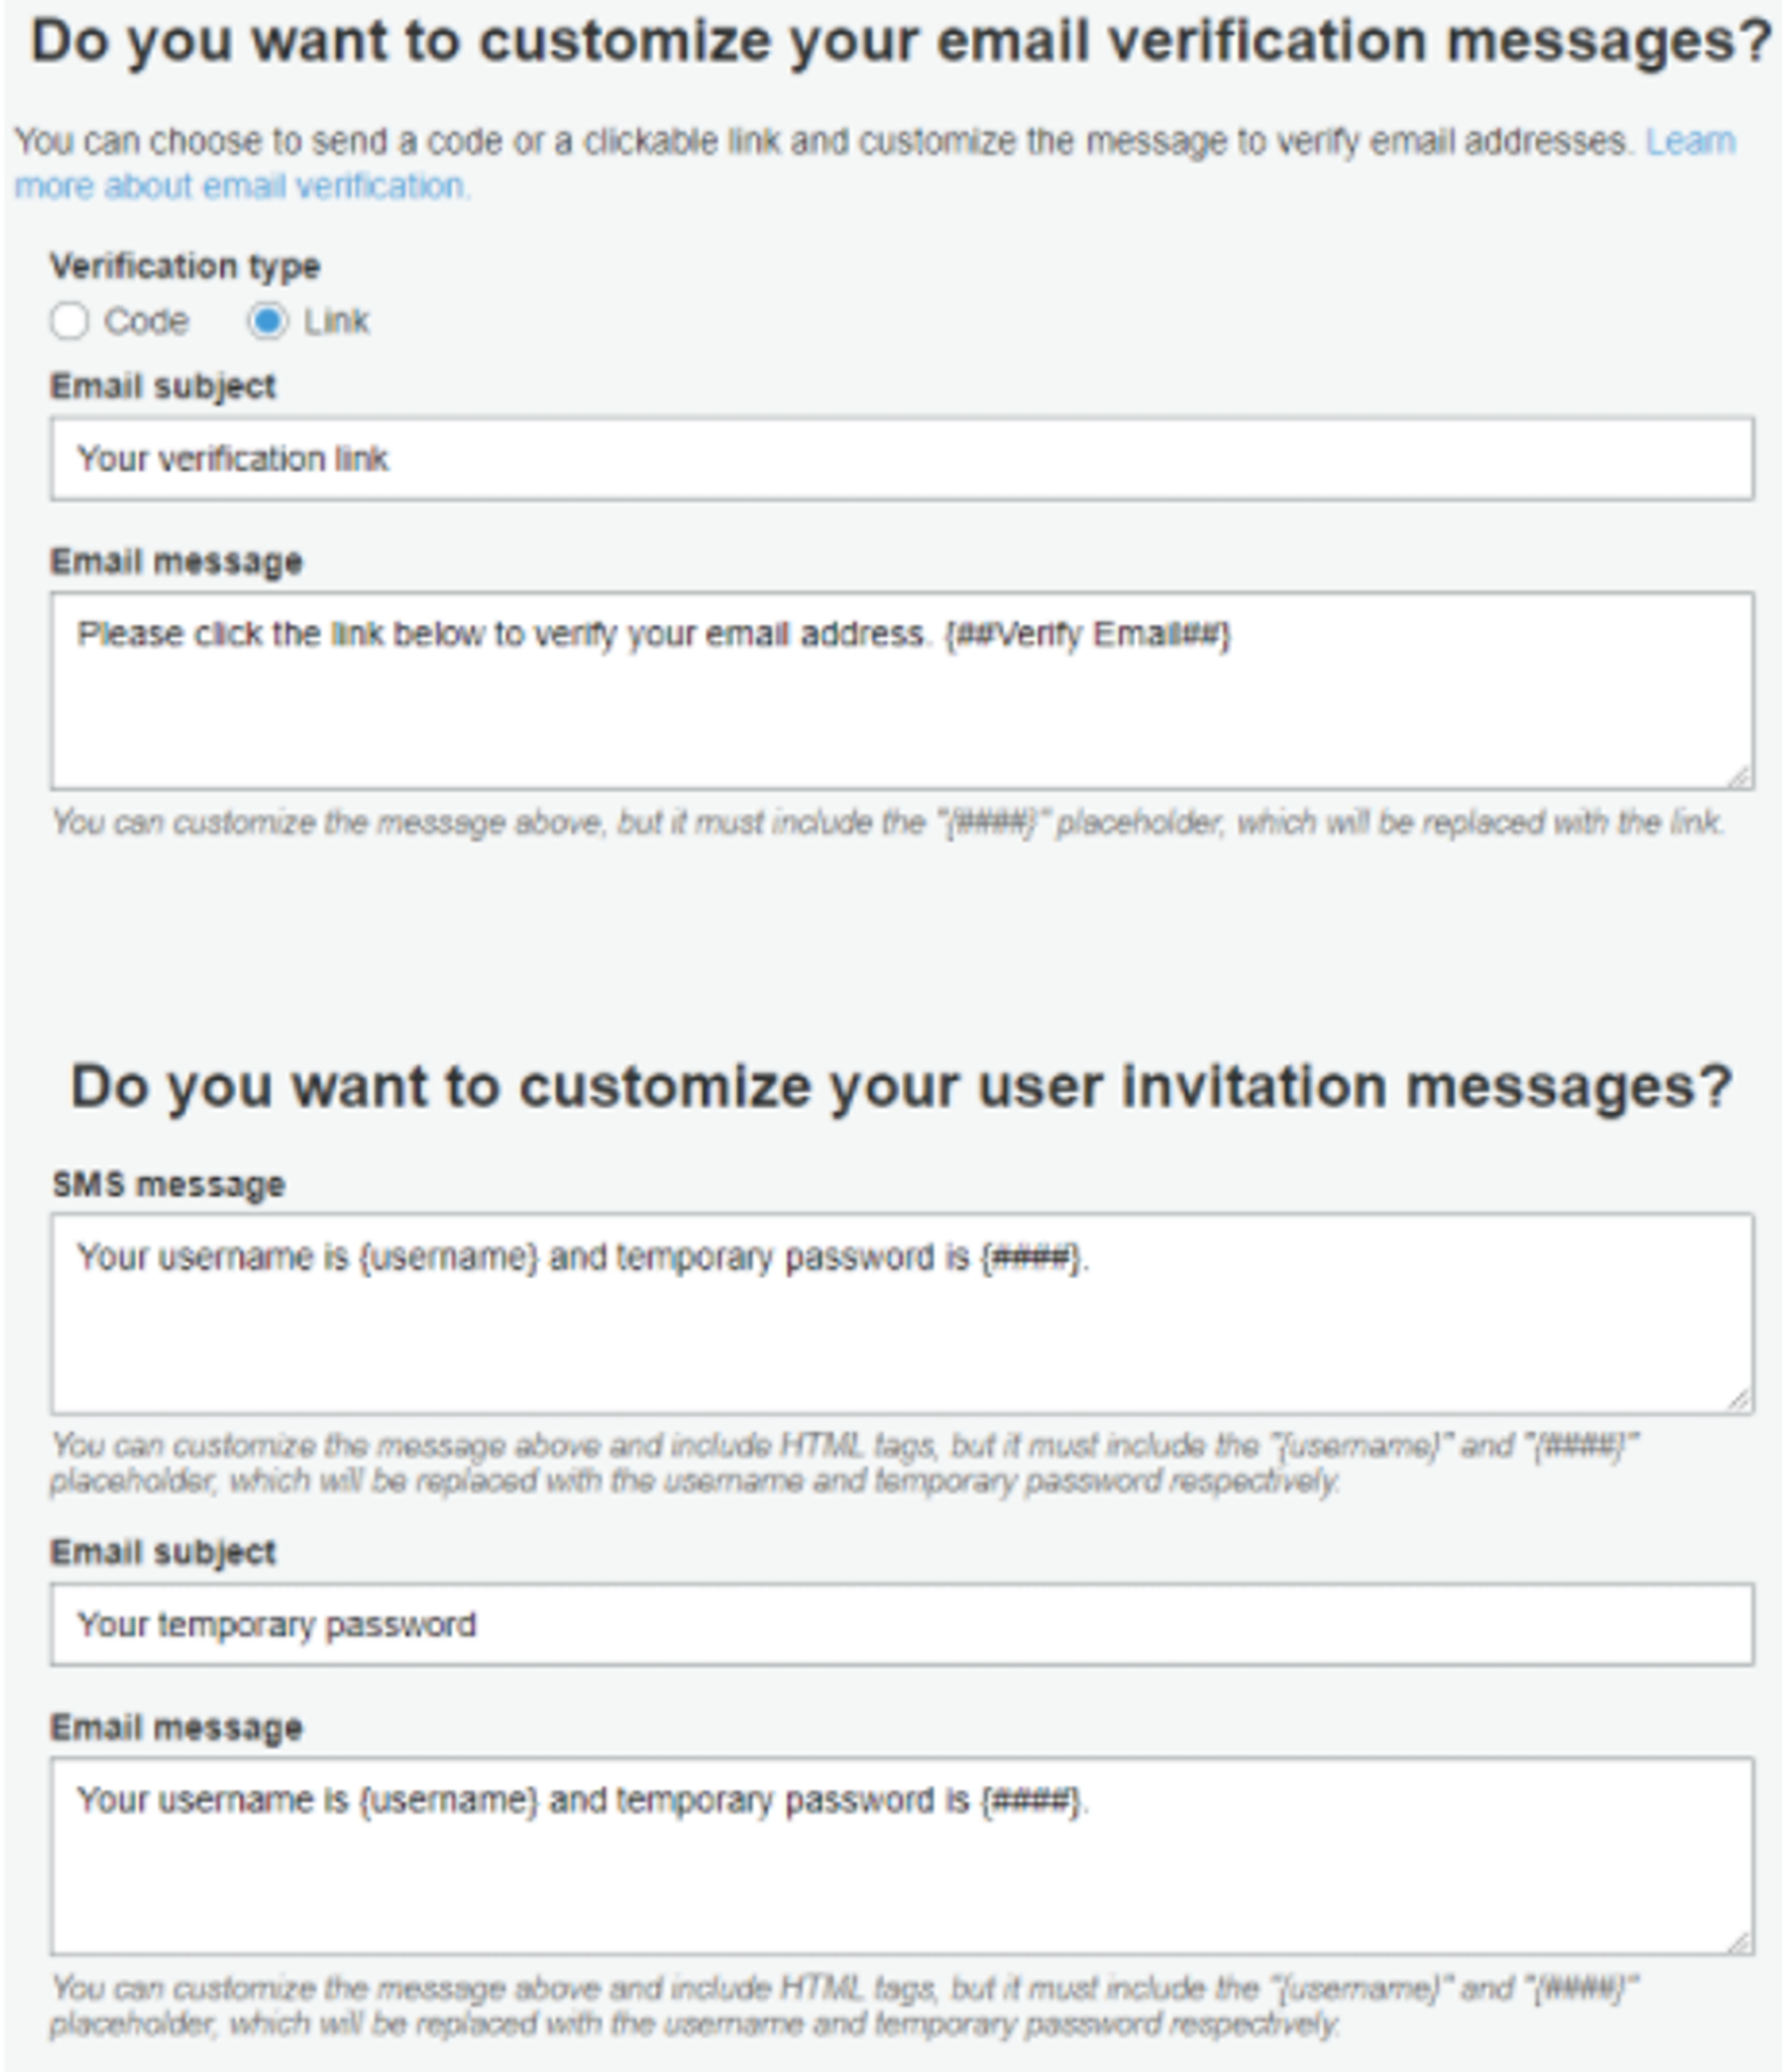
- In this step, you can configure your email address to send customized verification messages. You can also choose the type of verification you want to send in your email (I find links more intuitive than codes). Now click on Next step.
- On the next page, you will be able to add tags to your Cognito user pool. Adding tags is useful because it makes resources easier to manage, search, and filter. When you are done click on Next step.
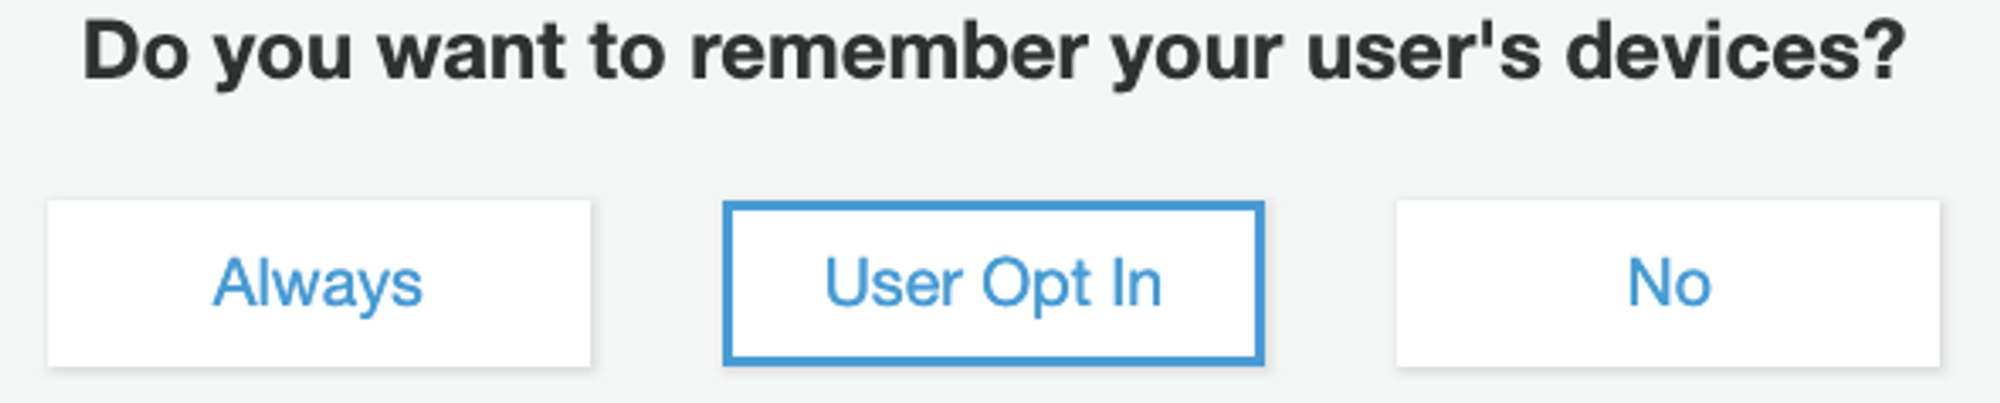
- You can also choose whether or not you want your application to remember your user’s devices. This option allows users to have automatic authentication when using the same device. Choose User Opt-In if you want users to decide if they want their devices to be remembered by the application. Now click on Next step.
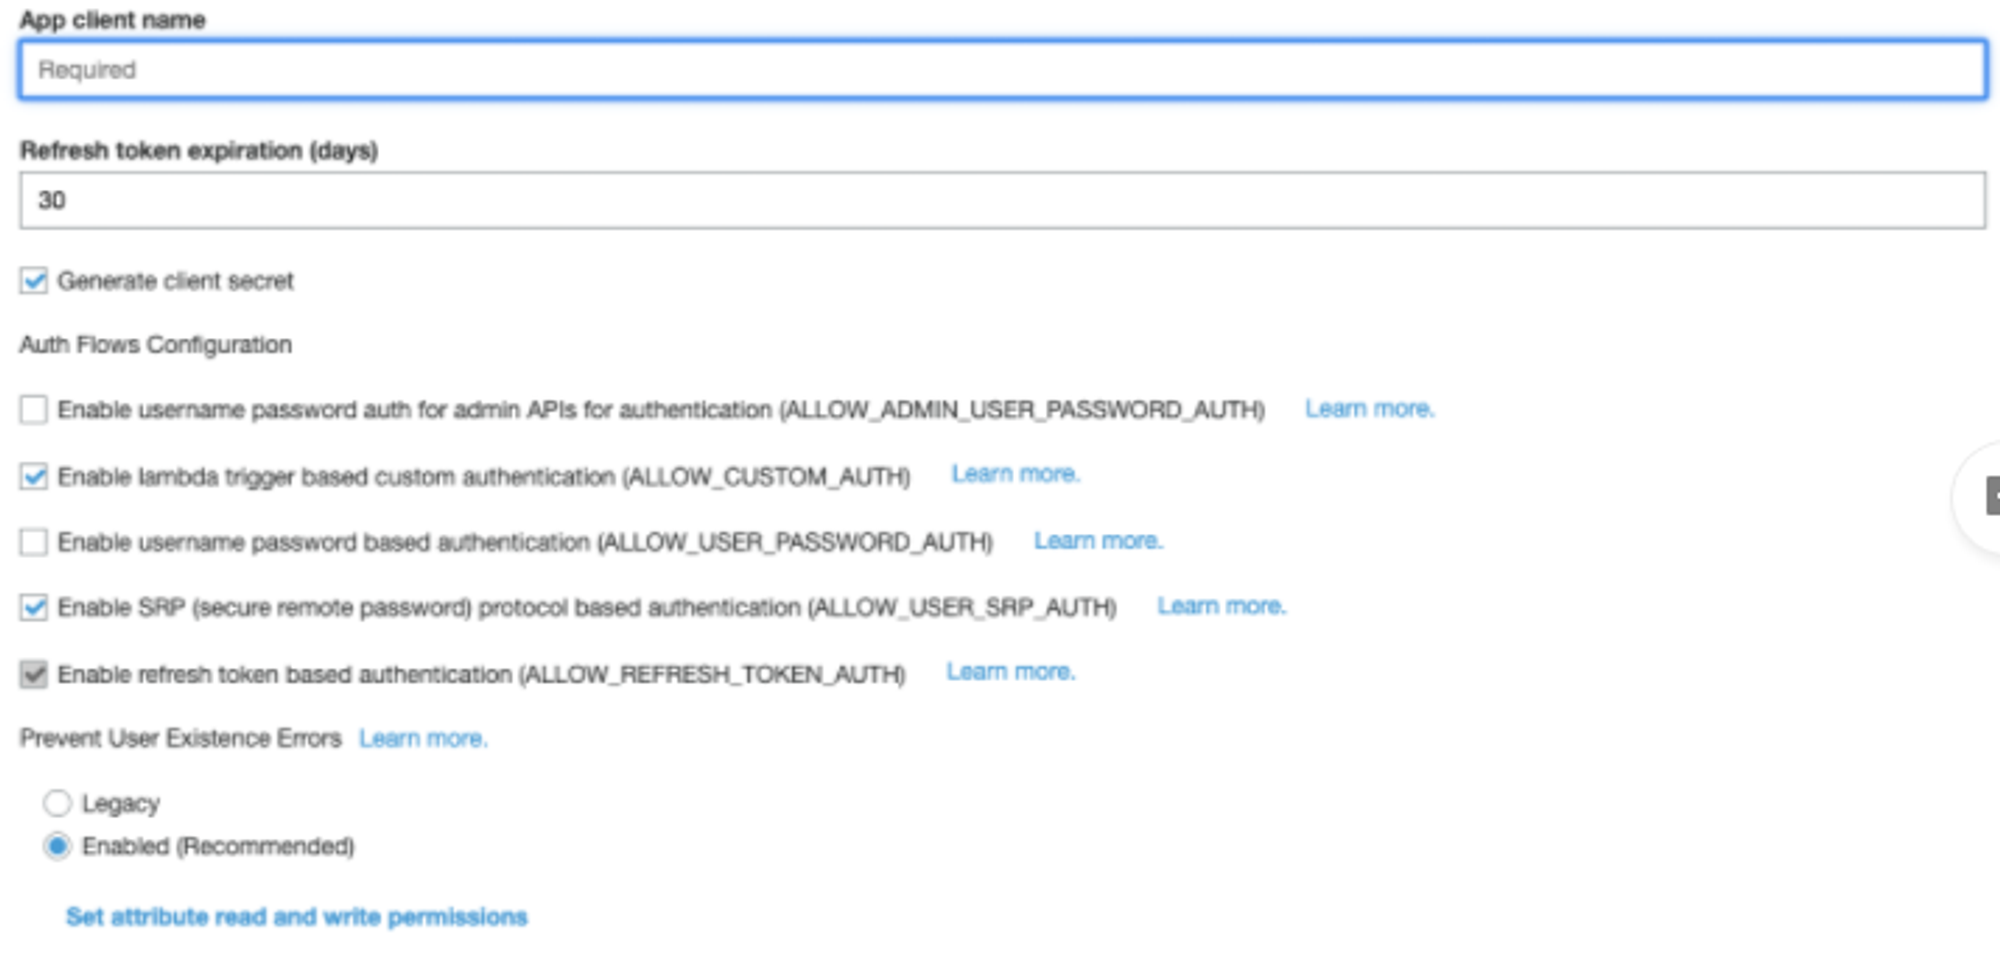
- On the following page you will create an App client to connect your application to Cognito. You can leave it to its default settings, it will cover the basics. Now click on Create app client and then Next step
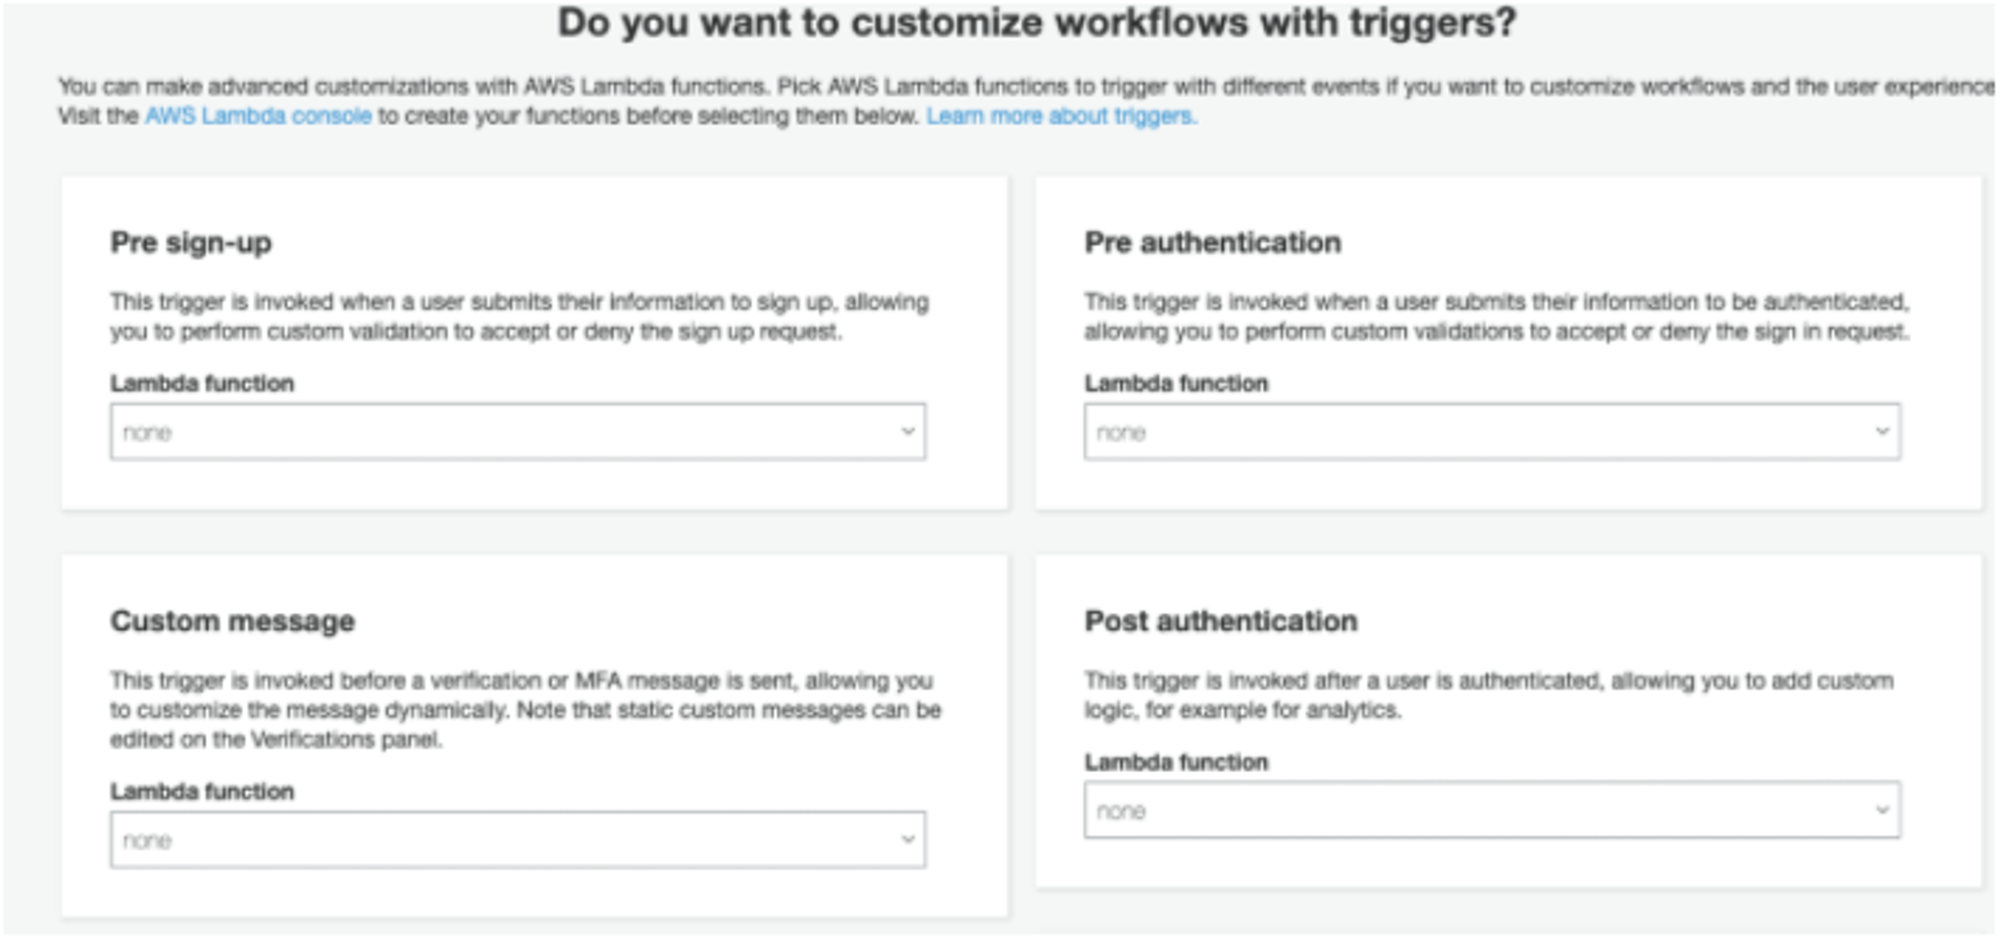
- On the triggers page, you can set lambda functions at any step of the authentication and customize your workflow. Here, for example, you can perform validation to accept or deny a user request. When you are done click on Next step.
- Check your settings, and when you are done, click on Create pool. Now you’ve just finished the process to create a User Pool on Cognito, and you have an authentication module ready to use in your project.
Creating an Identity pool
- Go to Cognito.
- Click on Manage Identity Pool.
- Click on Create new Identity Pool.
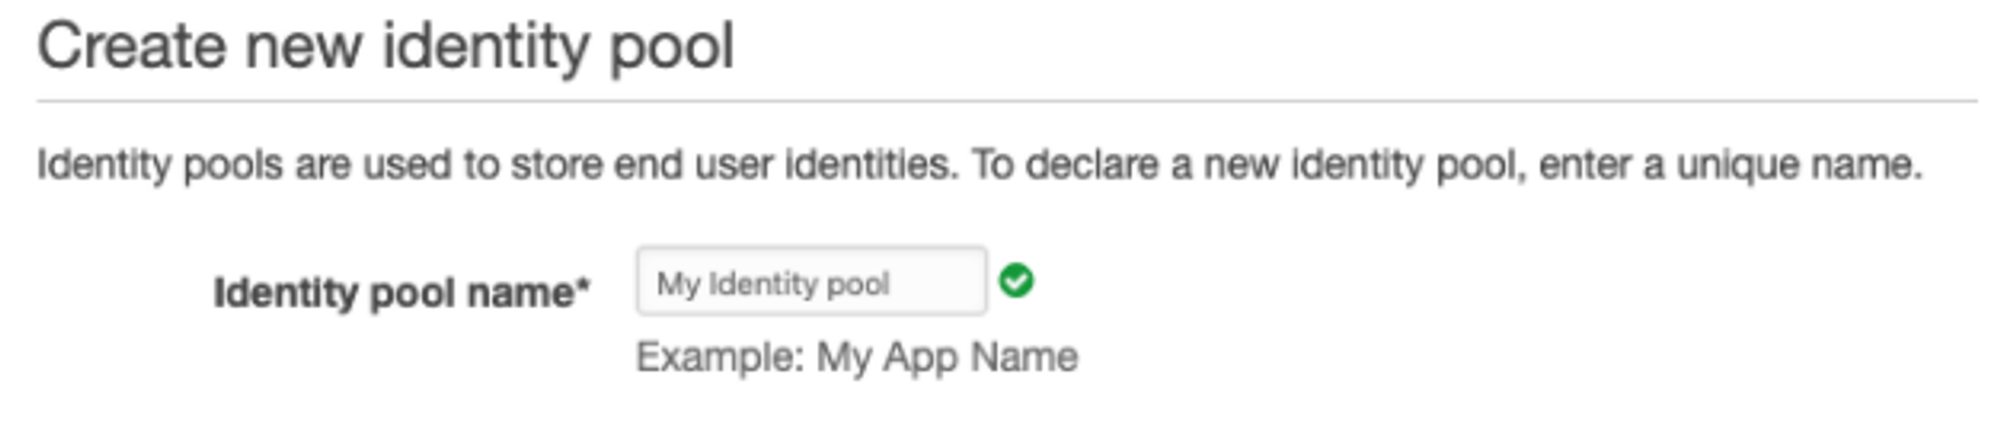
- Name your Identity pool.
- On Authentication providers choose Cognito, then add your User pool Id, and your App client. Here you can also use Amazon, Facebook, and Google providers to give access to your AWS resources. Click on Create pool.
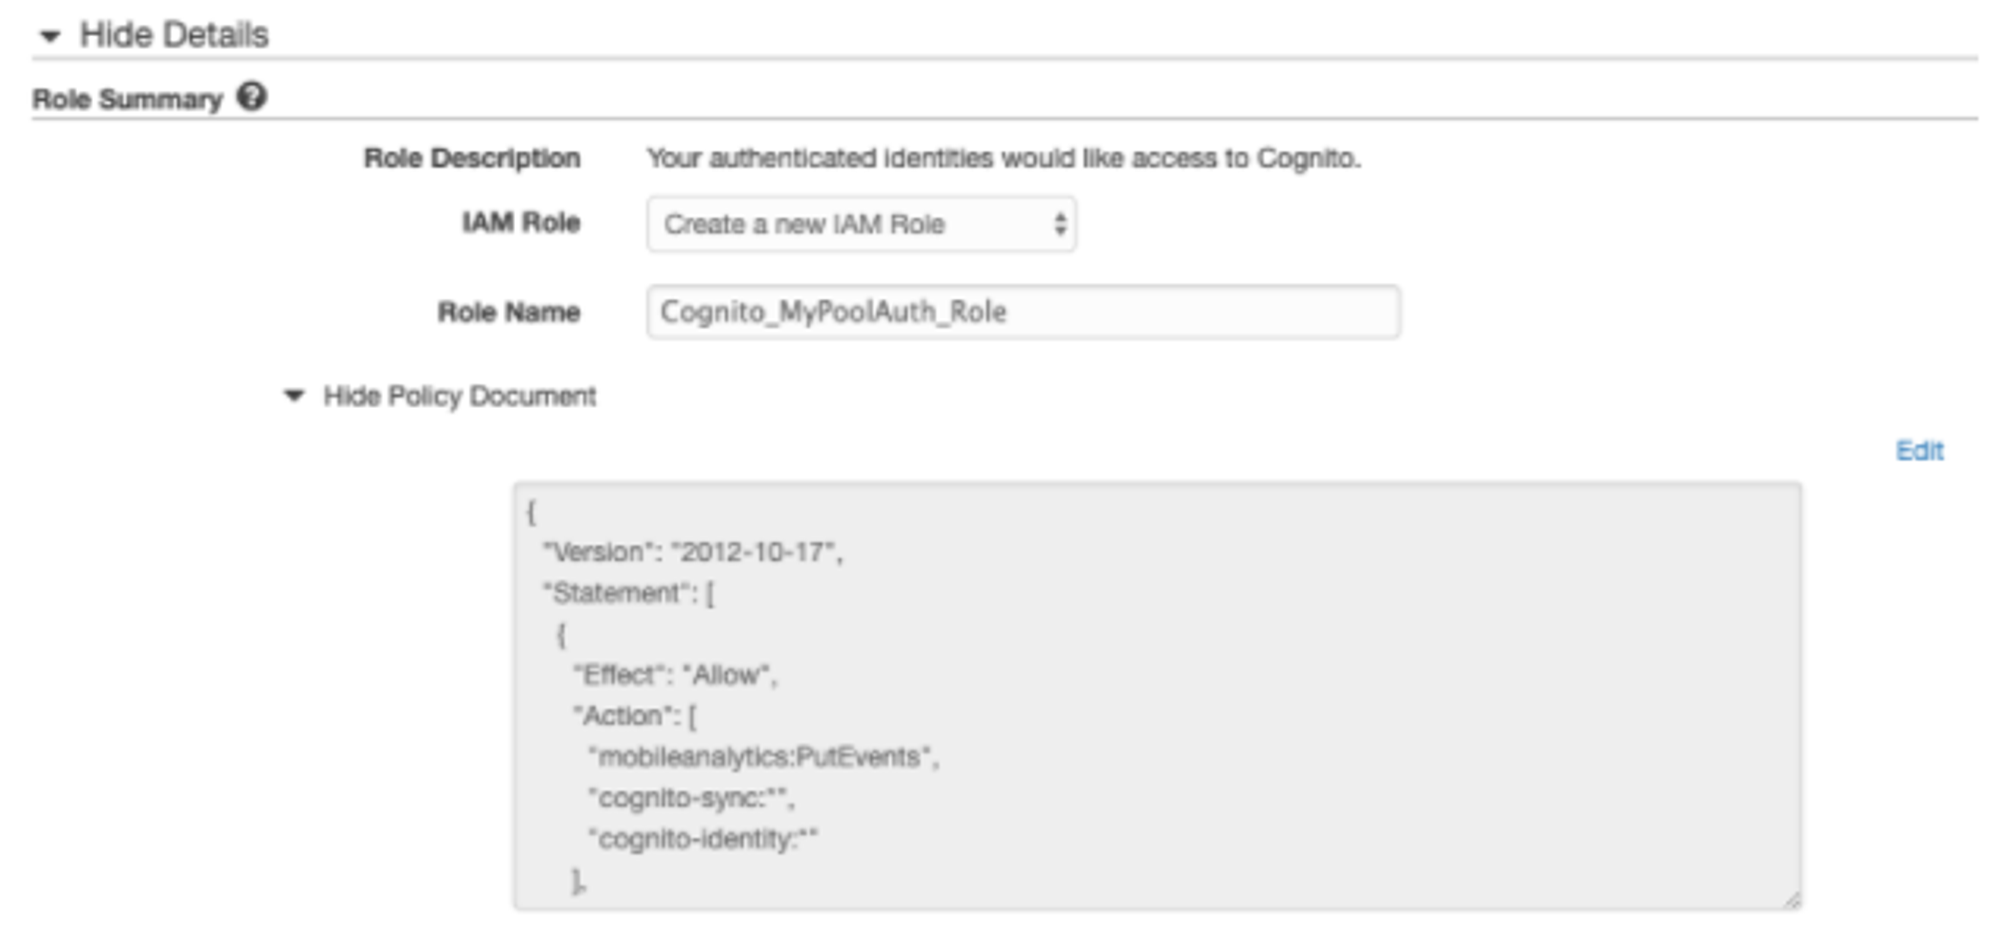
- On the next page you can add an IAM role to your identity pool. You can use the default role settings if you want to allow only users to interact with cognito, or you can change settings to give more permissions to the users. Finally click on Allow, and you’ve just created an authorization and authentication system using Cognito.