
At Dreamcode, we like to explore all different AWS tools and understand how each one of them can support our development work. Today we are exploring how a single S3 bucket and Lambda@Edge can be combined to host multiple sites.
Hosting several subdomains in the same S3 bucket can be a great solution if you want to save time and money. Using only one S3 bucket means saving money because Amazon charges you for the size and amount of buckets, so fewer buckets mean fewer expenses. Besides that, it’s simpler and easier to configure just one AWS Cloudfront, instead of setting it up a few times.
So, in this article, we will explain to you step-by-step how to host multiple sites with just one s3 bucket + Lambda@Edge.
Requirements:
- Access to AWS console
- Access to s3, Cloudfront, Certificate Manager, and Lambda
- Own a domain
Steps:
1. Create s3 bucket
While creating the bucket, you need to make it public, which means allowing all public access to it. To do this, make sure the Block all public access box is disabled.

Once the bucket is created, you need to open it, go to properties, and activate the Static Website Hosting option. After doing that, your bucket will have an endpoint available.

Finally, you need to configure the bucket policy to make it public. To do this go to permissions, and add and save the following code in bucket policies:
Sid: This is an optional identifier you provide for the policy statement.
Principal: Give access to a user, the wildcard * in this field allow everyone to access this bucket.
Action: Here you can add permissions to the bucket, in this case, we are giving only reading permission to the bucket.
Resource: Here you put the Amazon Resource Name (ARN). Notice that this ARN uses the wildcard * in the relative-ID part of the ARN to identify all objects in the bucket.
2. Create an SSL certificate
SSL certificates are a global security standard and getting it is important because it allows the transference of encrypted data between a browser and a web server. Besides that, SSL certificates guarantee security to website visitors, ensuring the site isn’t fake. To create an SSL certificate you need to own a domain ( you can buy one in AWS, or you can transfer one from a different provider).
Go to the AWS Certificate Manager and click on Request a certificate. Choose Request for a public certificate and then click on Request a certificate.

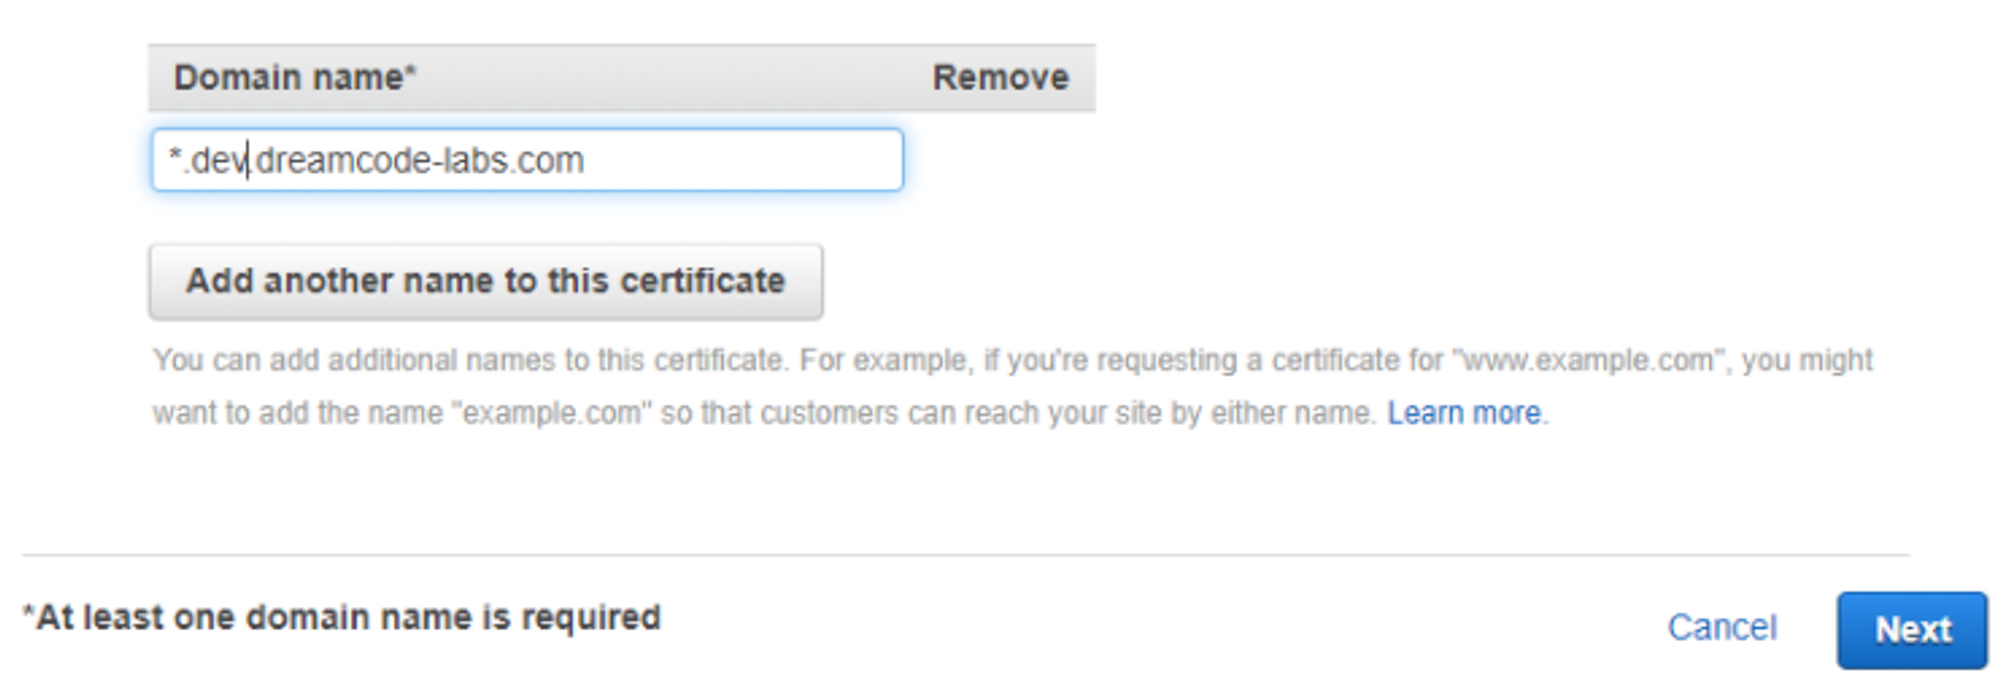
Now you are on the Add domains names page. On the domain name write a subdomain ( with a wildcard * in the beginning, to protect several sites in the same domain) and click next, for example:
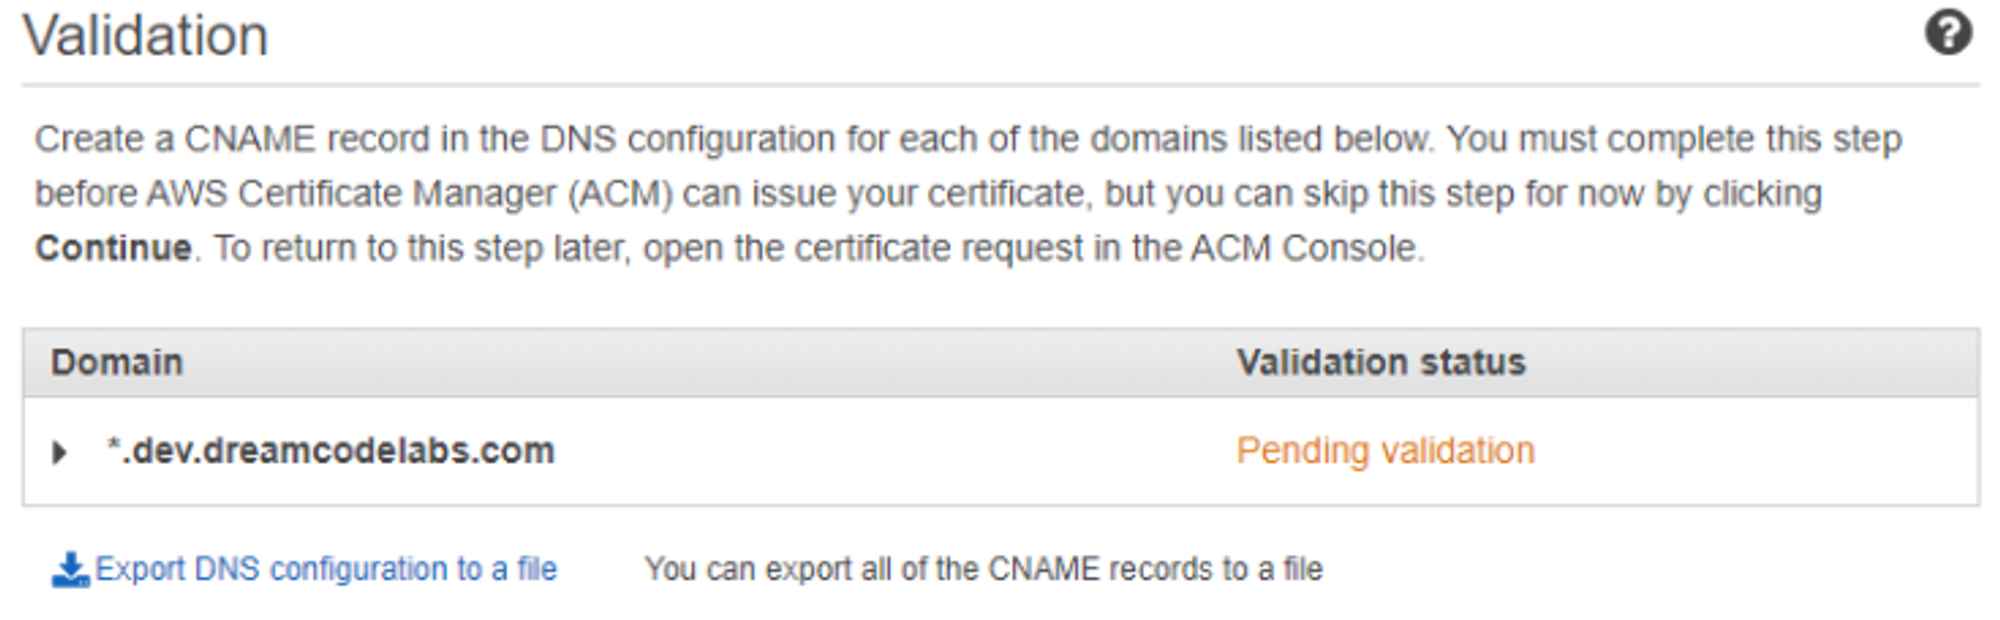
Choose DNS validation and click next. Add all the tags that you need, then click review and finally click confirm and request. It will take about 10 minutes to create your certificate.
3. Create an AWS Cloudfront
AWS CloudFront is a service that distributes data, videos, applications, and APIs globally with security, low latency, high transfer speeds within an easy environment for developers.
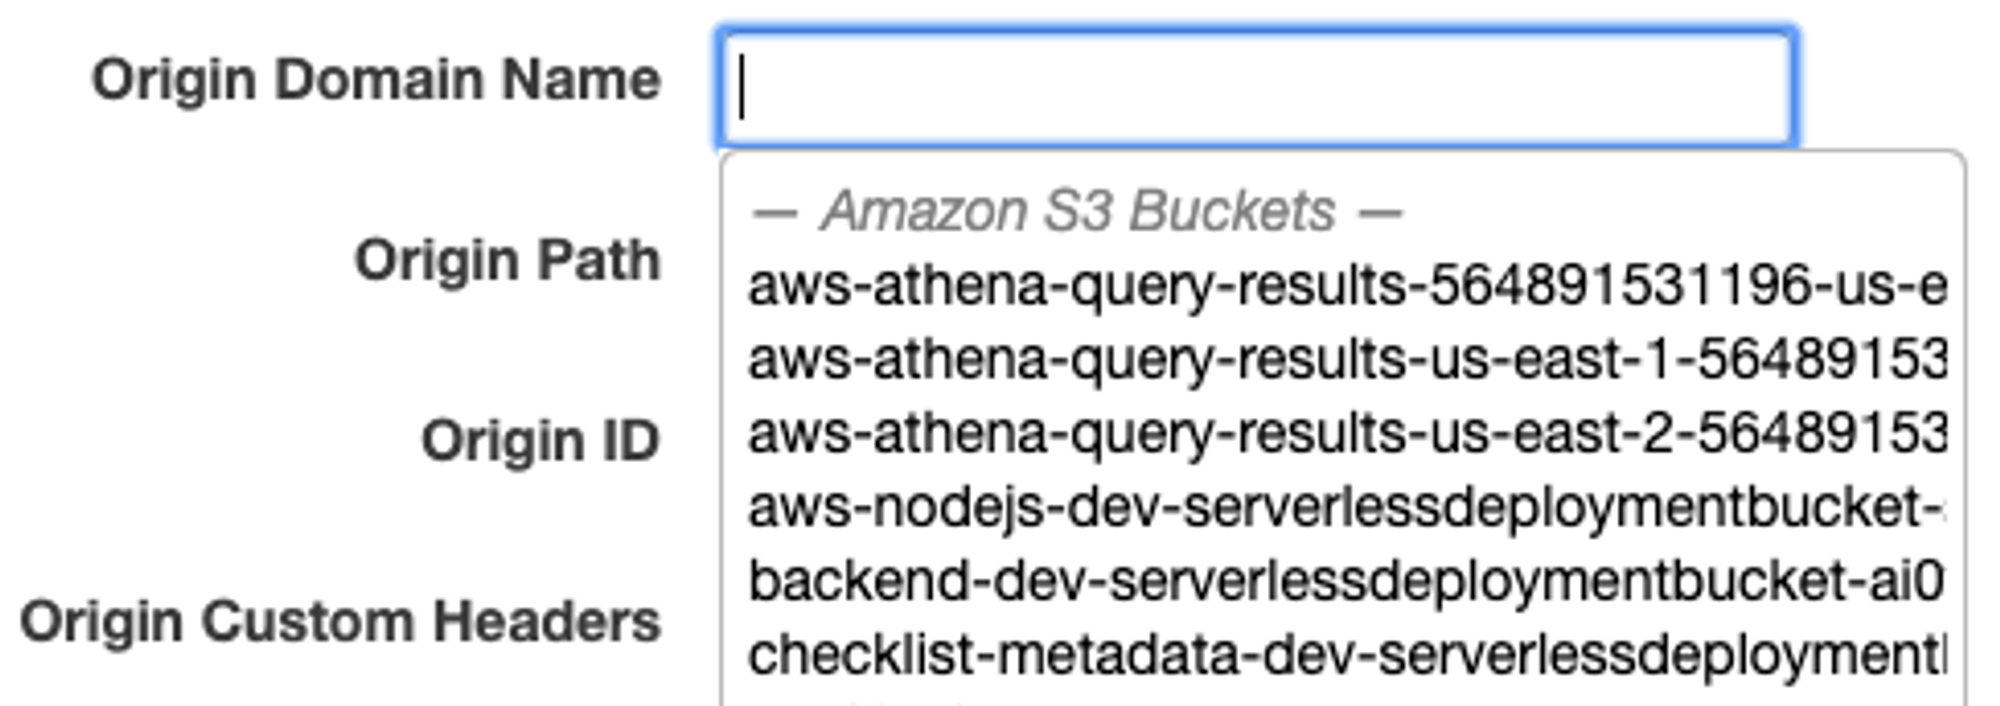
To configure your CloudFront, go to AWS Cloudfront, click on Create Distribution, and choose the Web option. In the Origin Domain Name field, you must choose the S3 bucket you created.
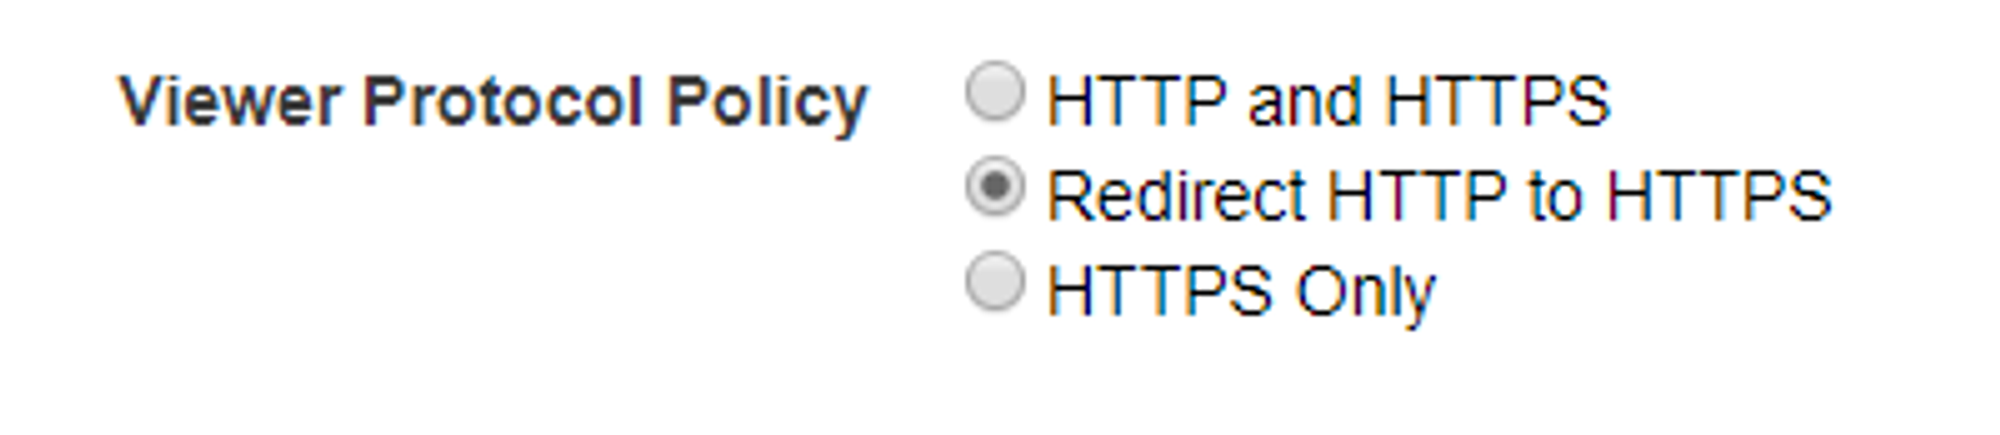
In Viewer Protocol Policy choose Redirect HTTP to HTTPS, this way your webpage will be always safe.
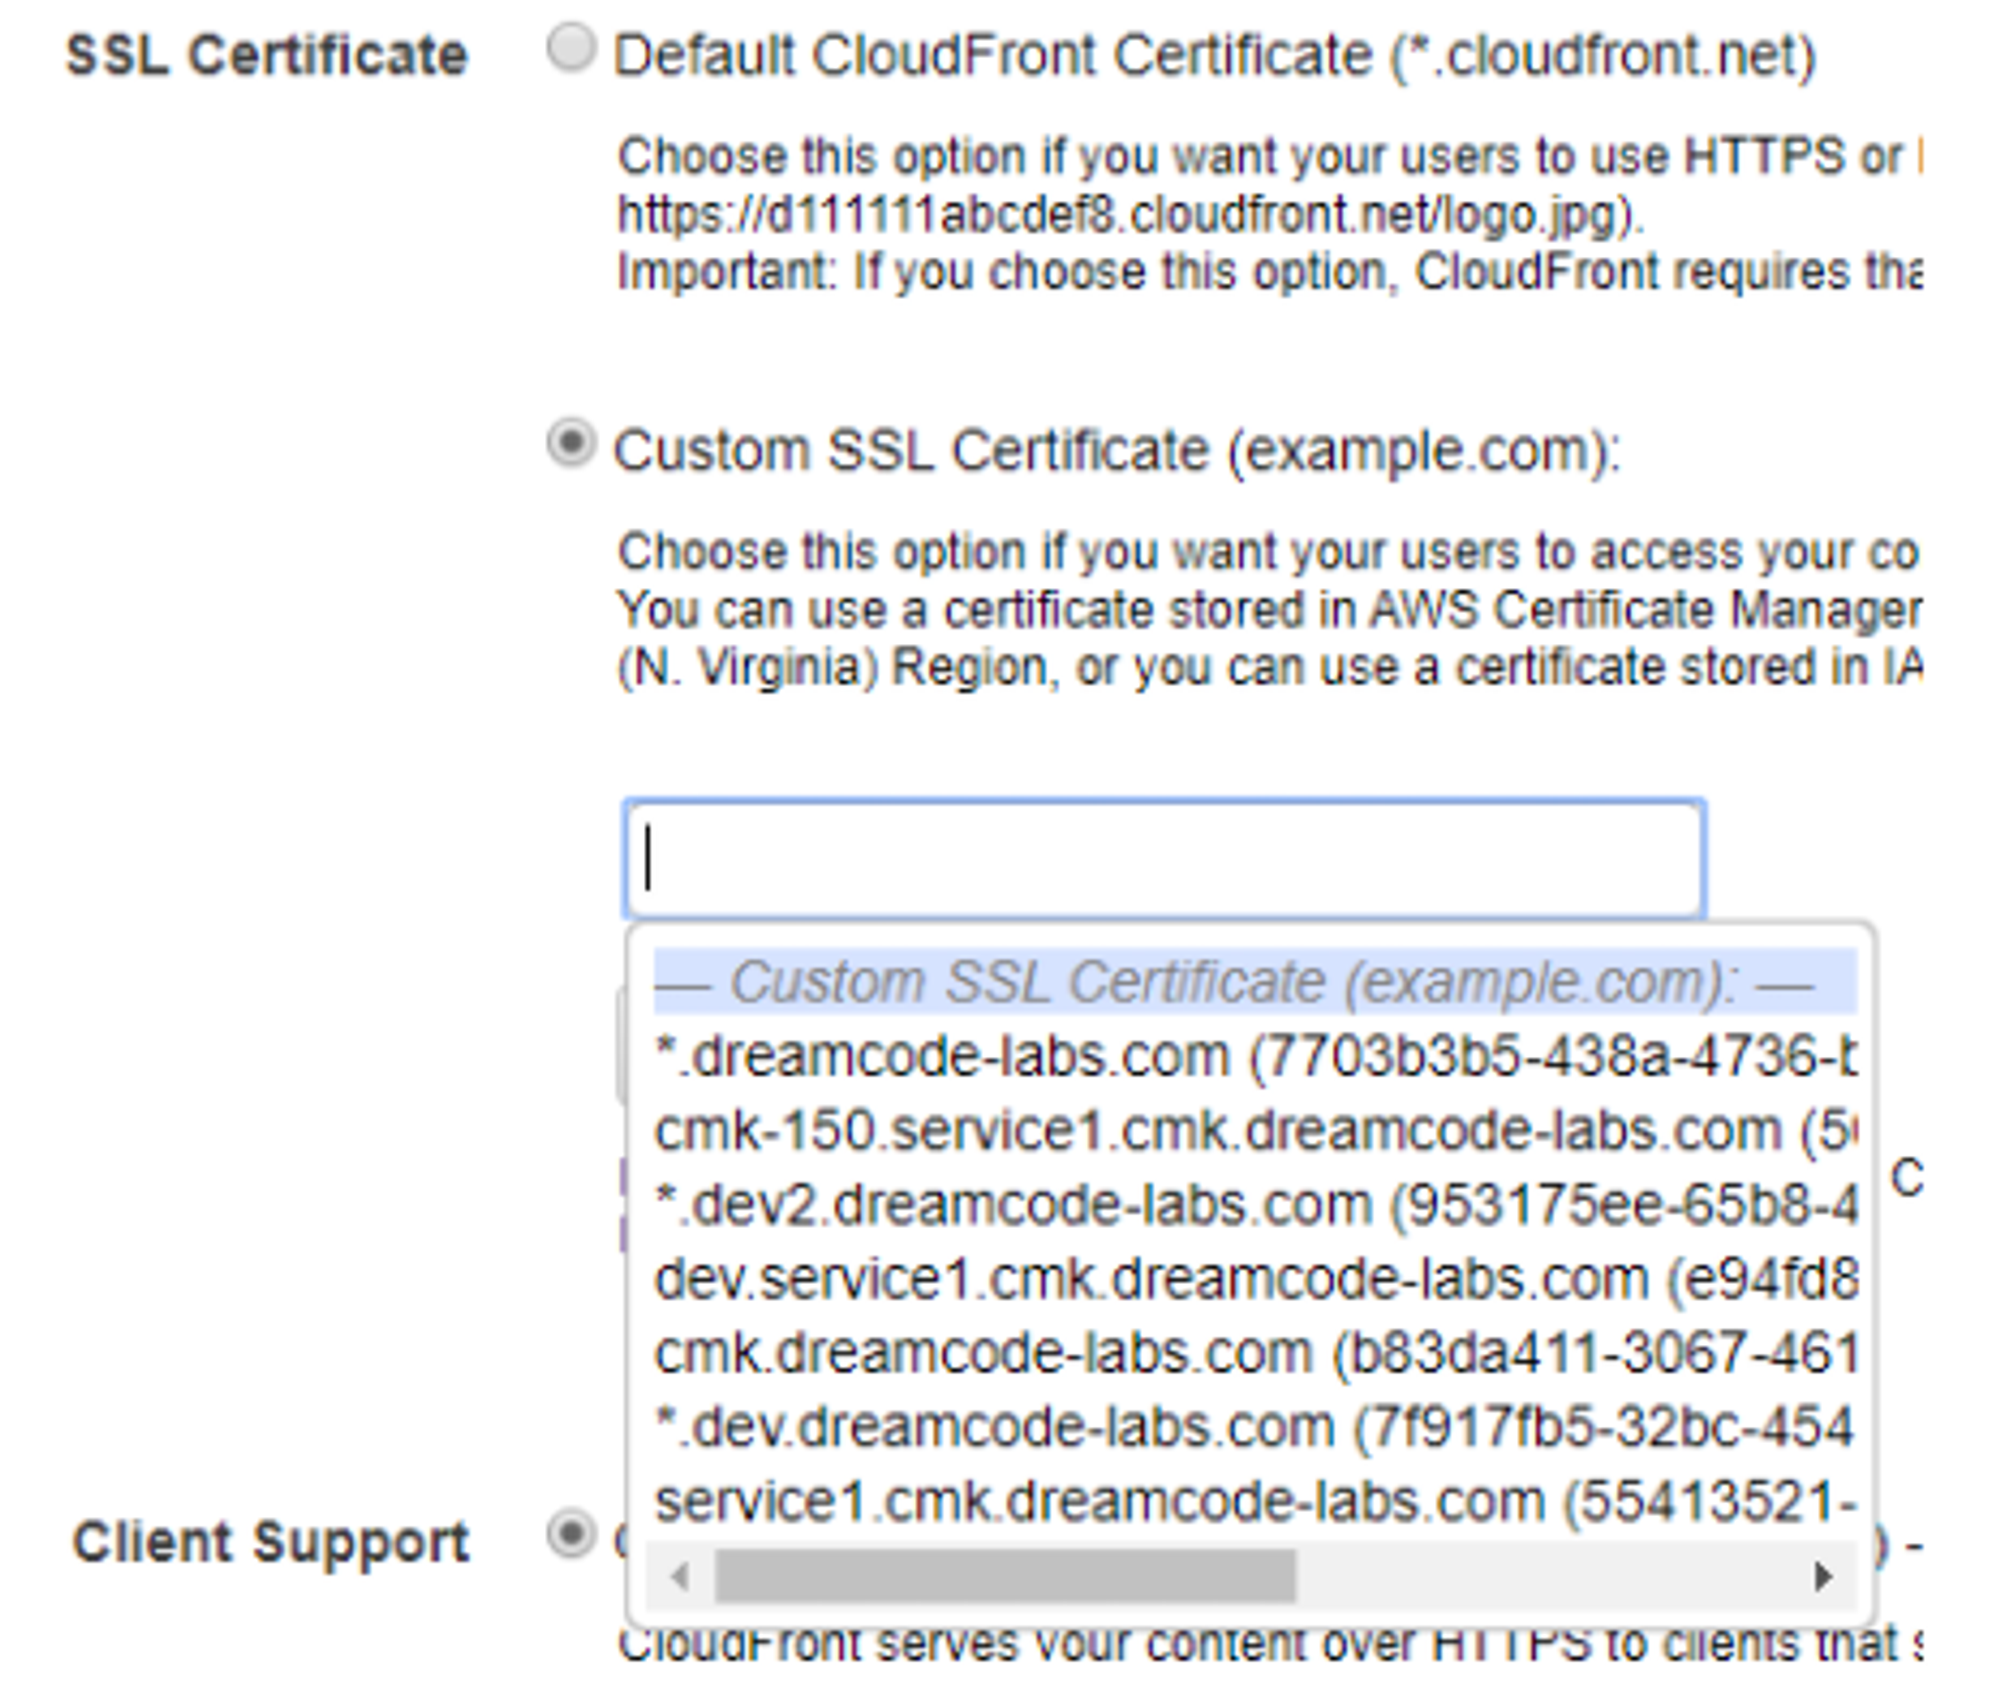
In the SSL Certificate option, choose Custom SSL Certificate and select your certificate. Finally, click on Create Distribution.
4. Lambda@Edge
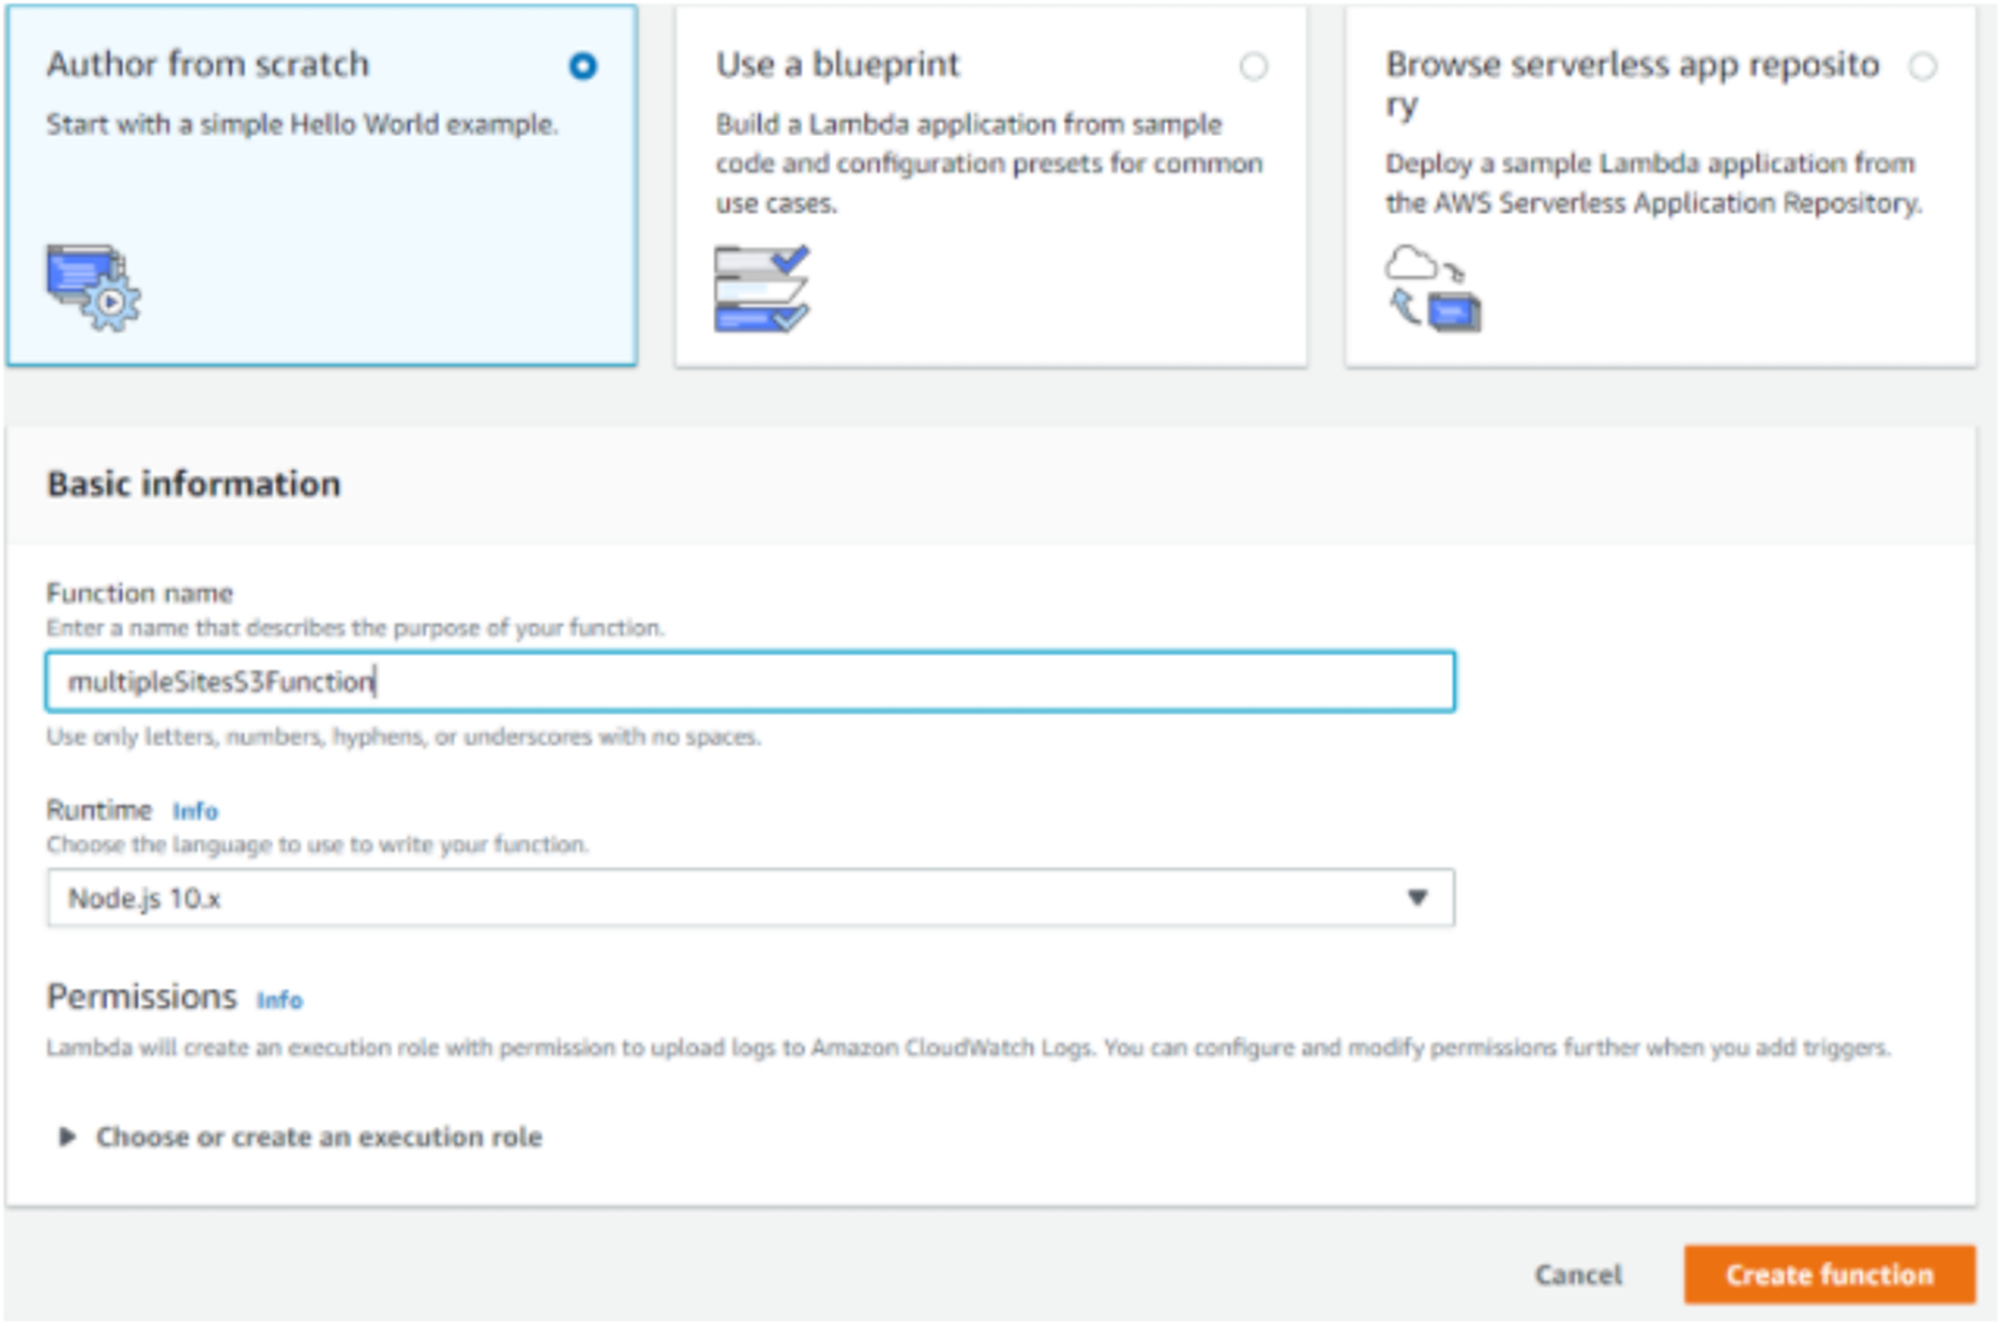
Now we need a Lambda@Edge function to add a behavior to our Cloudfront.The lambda function will handle the traffic going through different websites, this way Cloudfront will know which folder we need from the S3 bucket (this will be better explained in step 5). On AWS Lambda, click on Create function, and choose Author from scratch option, then write a name for your lambda function. Choose any Node.js Runtime and click on Create function.
Copy and paste the code below to the index.js file and click Save.This is the lambda function that will receive the Cloudfront event, and request to connect to any of the sites. Basically, it redirects you to the proper site based on what the user requested.
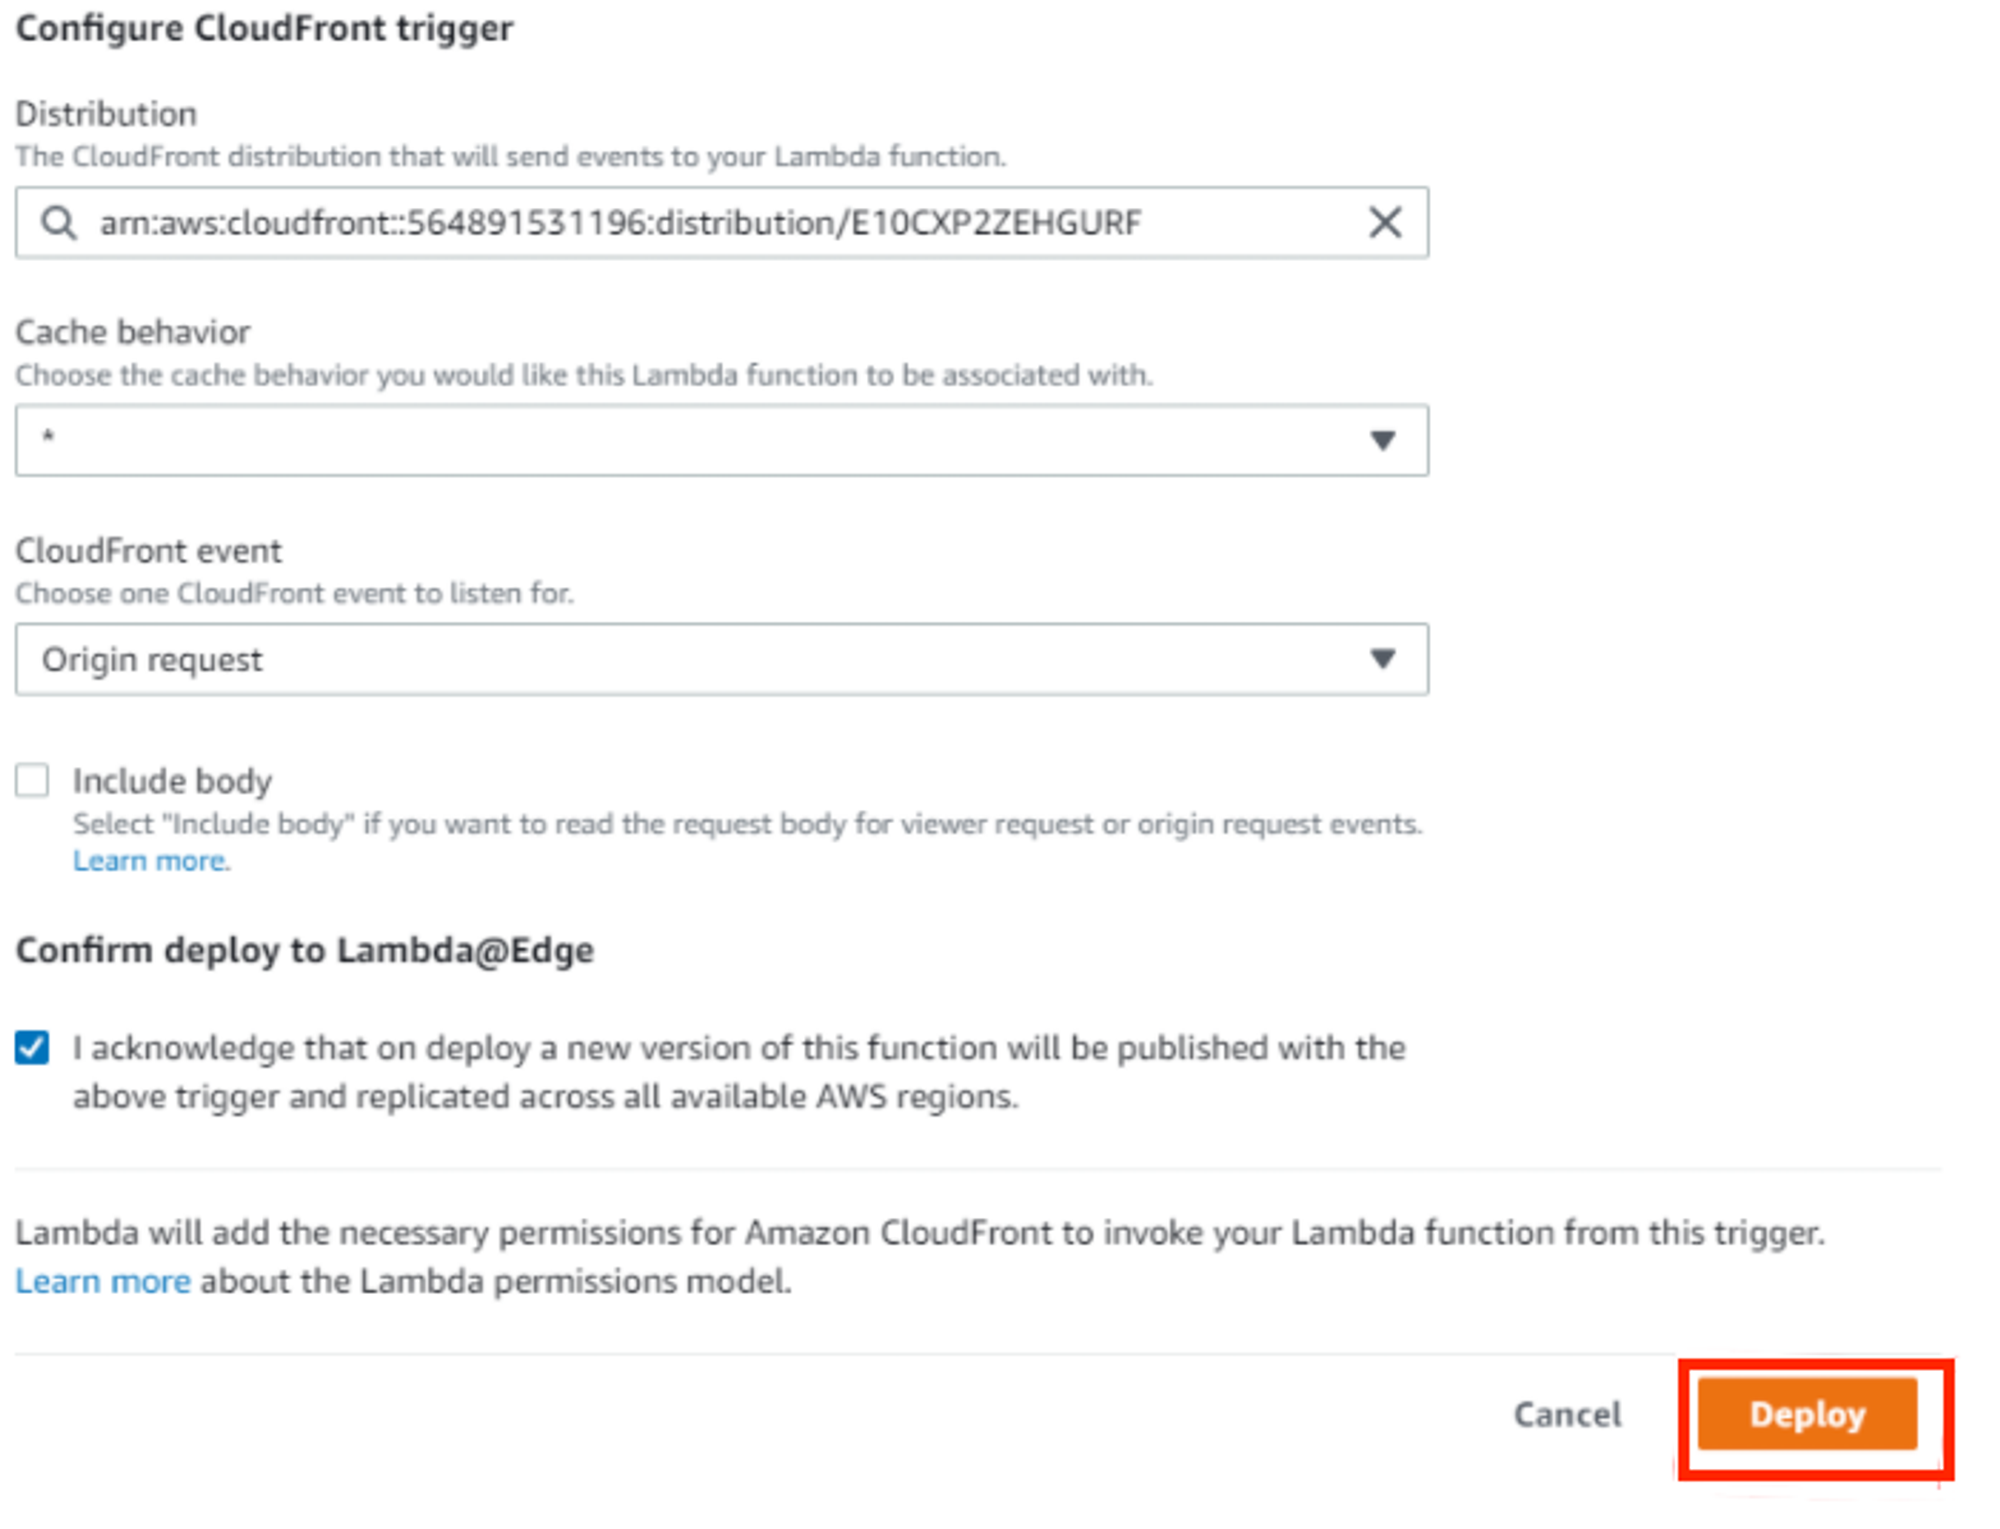
To add this behavior in the AWS Cloudfront go to Actions, and select Deploy to Lambda@Edge, then select your AWS Cloudfront Distribution and click Deploy.
5. Bind sub domains to Cloudfront
Go to your Cloudfront Distribution, select the General tab, and click on Edit. On Alternative Domain Names, write all your domain names. For example:

After this, your domains will be up and running (this process can take up to an hour). So now go to your s3 bucket and create a folder with your subdomain name, this way Labda@Edge can bind your subdomain with the folder. To conclude, put all your files related to your website in this same folder, and that’s it: you are hosting multiple sites with just one s3 bucket!


